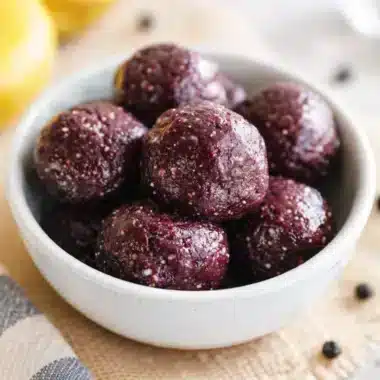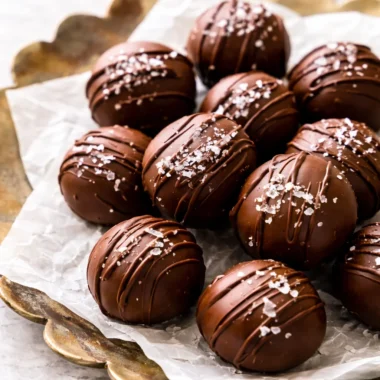



















No Bake Protein Energy Balls are my little secret weapon for those days when I need something filling but I do not want to cook a whole meal. You know the feeling, you are hungry, a little cranky, and suddenly everything in the pantry looks like a snack option. I started making these because I wanted a sweet bite that still felt like a smart choice, especially after workouts or in that mid afternoon slump. They come together in one bowl, they are easy to customize, and they actually taste like a treat. If you have ever bought pricey protein bites at the store, you are going to love how simple and affordable these are at home. 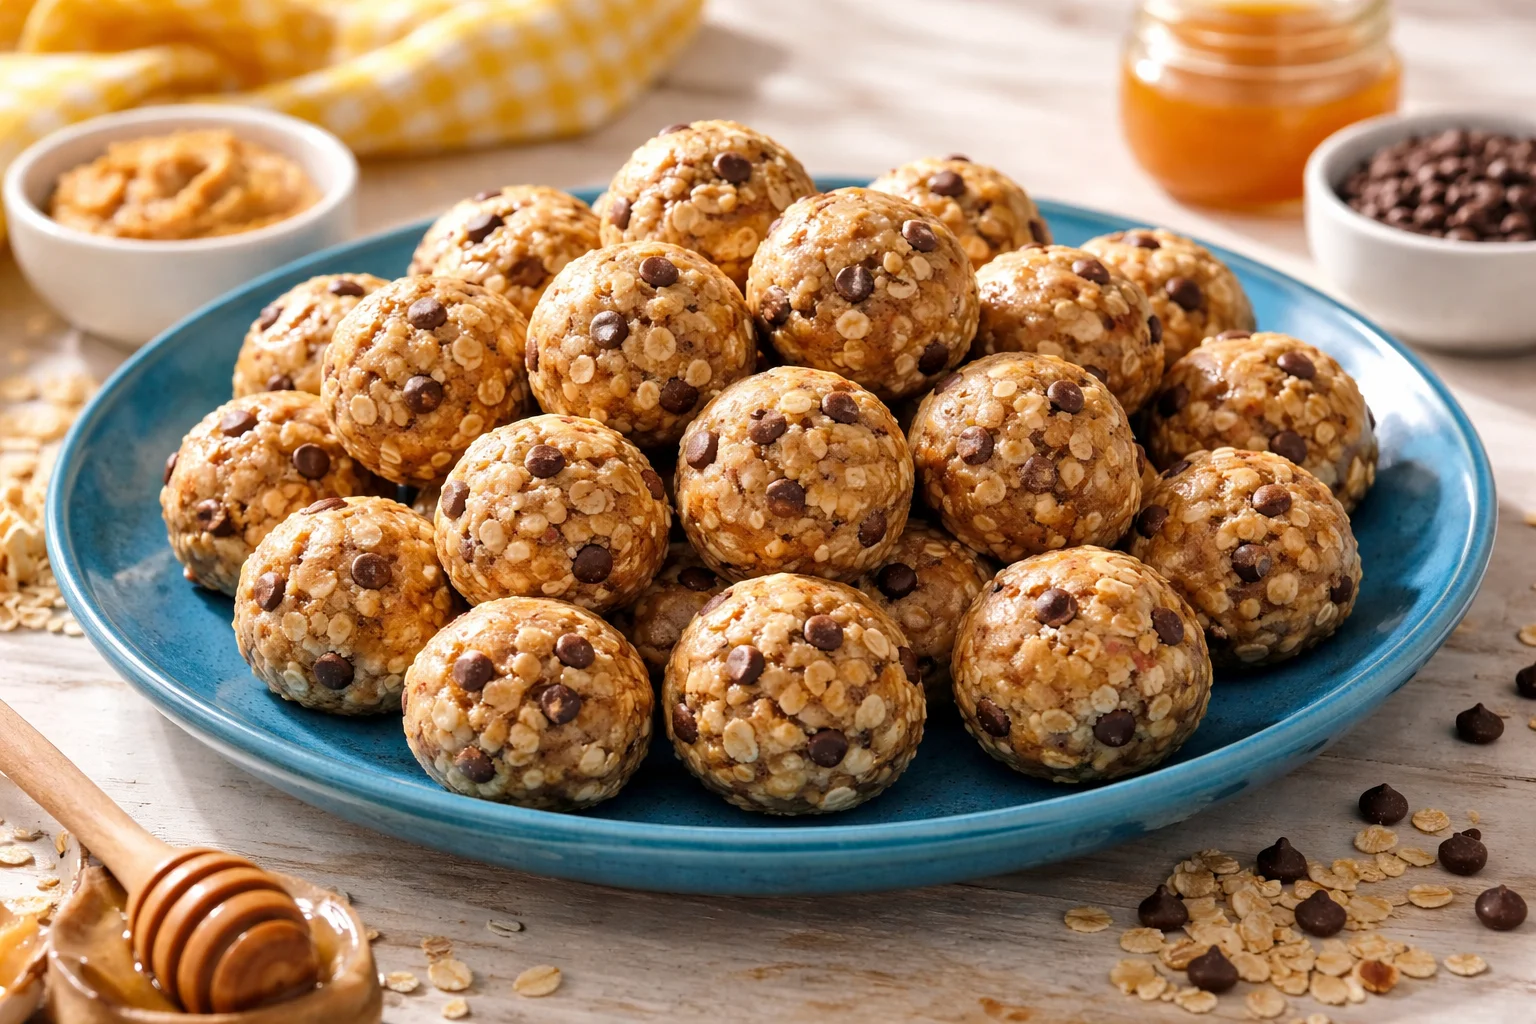
Protein Energy Bites Ingredients
Let us keep this simple. The best No Bake Protein Energy Balls are made with a few basics, then you can tweak the flavor depending on what you have. I like a mix that is chewy, a little sweet, and just rich enough to feel satisfying.
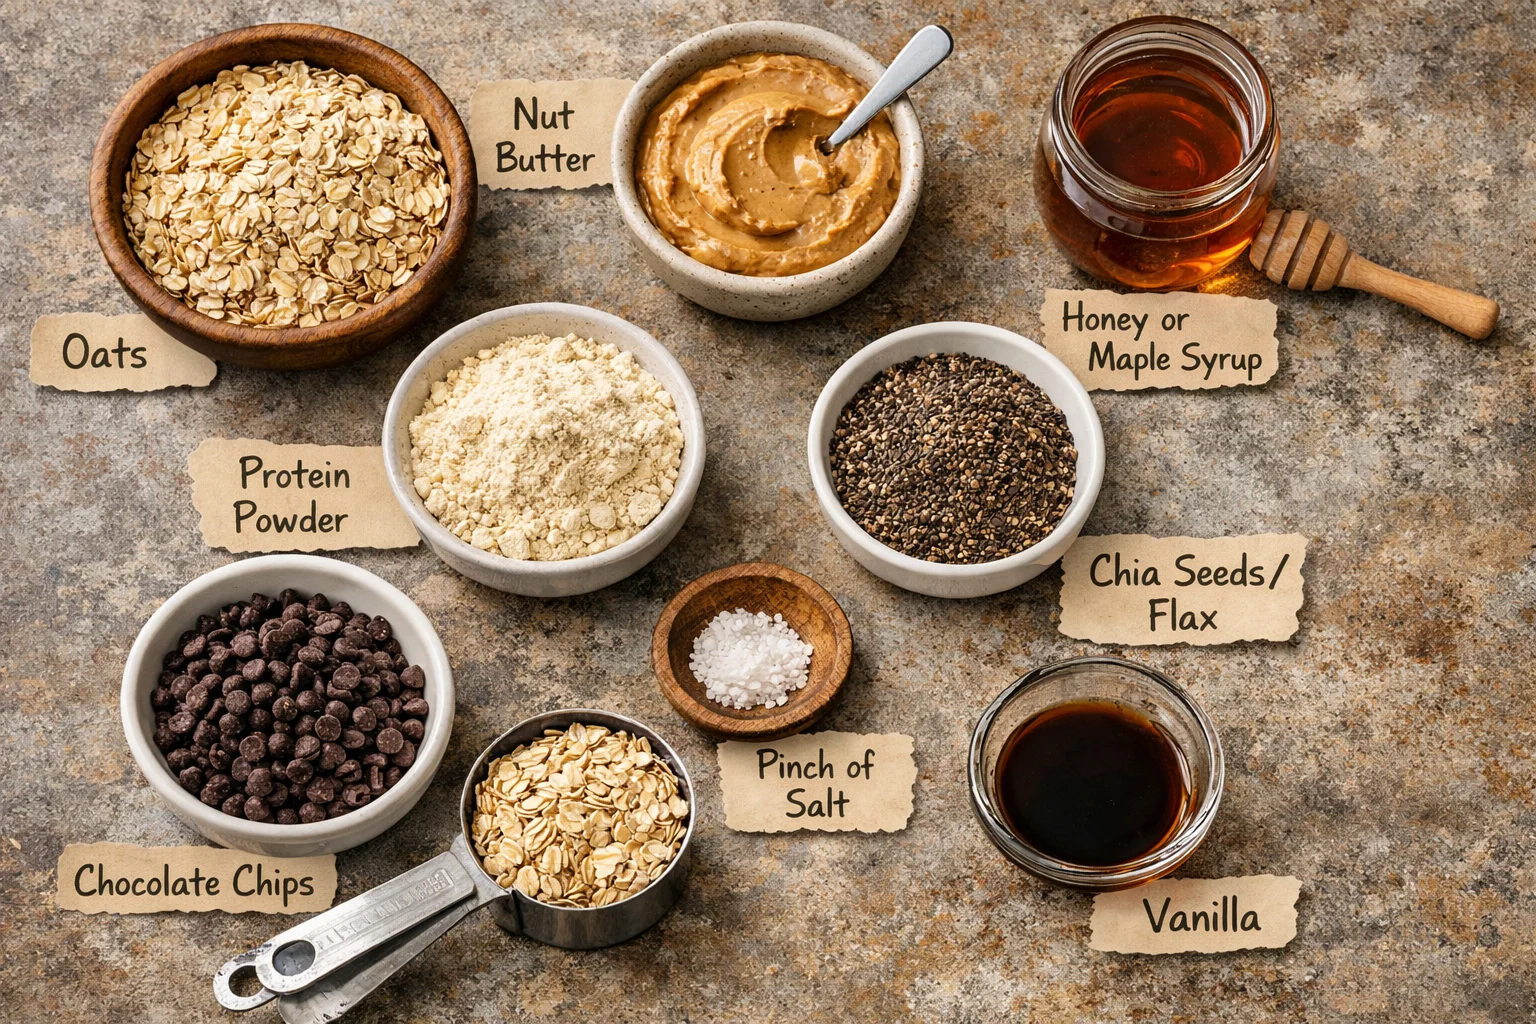
Here is what I usually grab:
- Old fashioned oats: they give structure and that hearty bite.
- Nut butter: peanut butter is classic, almond butter is a little more mellow.
- Honey or maple syrup: helps everything stick and adds sweetness.
- Protein powder: vanilla is my go to, but chocolate works too.
- Chia seeds or ground flax: optional, but great for texture and staying power.
- Mini chocolate chips or cacao nibs: optional, but I almost always add them.
- Pinch of salt: do not skip it, it makes the flavor pop.
- Vanilla: makes everything taste more like dessert.
I also want to say this out loud because it matters. Your protein powder changes the texture a lot. Some are super thirsty and make the mixture dry. If that happens, add a tiny splash of milk or a spoonful more nut butter until it feels like cookie dough.
And if you are planning a full easy dinner later, I have to point you to this comfort meal I make all the time: comforting baked ziti with ricotta and mozzarella. These little bites plus a solid dinner plan make the day feel handled.
;
Recipe Variations
This is the part where you get to make them yours. Once you learn the basic vibe, you can spin off a bunch of versions and never get bored. I have made these before road trips, after workouts, and even for movie nights when I wanted something sweet but not a whole tray of brownies.
My favorite flavor ideas
Here are a few variations I actually make on repeat:
Chocolate peanut butter: Use chocolate protein powder, peanut butter, a spoon of cocoa, and mini chips. Tastes like a candy bar situation.
Oatmeal raisin: Add cinnamon, raisins, and vanilla protein powder. If you want, toss in chopped walnuts too.
Coconut almond: Almond butter, shredded coconut, vanilla, and a few chopped almonds. This one feels a little fancy for zero effort.
Espresso: Add 1 to 2 teaspoons instant coffee granules and use chocolate chips. Amazing for afternoon snack time.
If you need these to be nut free, sunflower seed butter works great. Just know it has a stronger flavor, so I usually add a little extra vanilla and a sprinkle more salt.
Also, if you are a no bake dessert person like me, you might love this fun one when you want something different: strawberry shortcake cheesecake sushi rolls. It is playful and honestly a crowd pleaser.
“I made a batch on Sunday and my whole week got easier. I grabbed two after the gym and they actually kept me full until dinner. My kids thought they were dessert, so that is a win in my book.”
How to Make Protein Balls
This is my actual method, the one I use when I am tired and want it to work the first time. No Bake Protein Energy Balls do not need fancy tools, but the order you mix things can help a lot.
Step by step directions
- Add oats, protein powder, chia or flax, and salt to a bowl. Stir it up first so the powder does not clump later.
- Add nut butter, honey or maple syrup, and vanilla. Mix until it starts coming together. I use a sturdy spoon, then switch to clean hands if needed.
- If the mixture is too dry, add 1 teaspoon of milk at a time. If it is too sticky, add a spoonful of oats.
- Fold in chocolate chips or any mix ins last so they do not melt from warm hands.
- Roll into balls. I aim for about 1 tablespoon each. Place them on a plate or tray.
- Chill for 20 to 30 minutes so they firm up. Then snack away.
My biggest tip: do not rush the chill time. They taste good right away, but they hold their shape better after a short rest in the fridge. And if you want them extra neat, lightly wet your hands before rolling. It cuts down on sticking.
If you are in a big meal prep mood, I usually pair snack prep with an easy protein dinner. This one is great when you want something crispy without frying: crispy baked Italian parmesan chicken.
How to Store Protein Balls
One of the reasons I keep coming back to No Bake Protein Energy Balls is that they store beautifully. They are basically made for busy weeks. Once you get a batch in the fridge, it feels like you gave your future self a little gift.
Here is what works best in my kitchen:
In the fridge: Store in an airtight container for up to 7 days. I separate layers with parchment paper if they are extra sticky.
In the freezer: Freeze on a tray first so they do not stick together, then move to a freezer bag. They keep well for up to 2 months.
How to thaw: Let them sit at room temp for 10 to 15 minutes, or just eat them straight from the freezer if you like a firmer bite.
If your kitchen is warm, do not leave them out on the counter too long. They are fine for a lunchbox, but at home I keep them chilled so they stay firm and safe.
More Healthy Snacks to Try
Once you get into the rhythm of making easy snacks at home, it gets kind of addictive. You start realizing you do not need complicated recipes to feel prepared. If No Bake Protein Energy Balls become part of your weekly routine, here are a few other simple snack ideas I rotate through:
Greek yogurt bowl: yogurt, berries, drizzle of honey, and a sprinkle of granola.
Apple slices and peanut butter: classic for a reason.
Trail mix: build your own with nuts, seeds, and dried fruit so it is not overly sugary.
Roasted chickpeas: crunchy, salty, and great when you want something savory.
Cheese and crackers: add grapes or cucumbers to make it feel a little fresher.
And if you want a cozy comfort food night that still feels manageable, this one is a total weeknight helper: one pot beef and noodle skillet.
Common Questions
Can I make these without protein powder?
Yes. Add a little extra oats, and for more staying power you can add ground flax, chia, or even a few tablespoons of almond flour.
Why are my energy balls falling apart?
Usually they need more sticky ingredients. Add a spoonful more nut butter or honey, then chill them before rolling again.
How many should I eat at once?
It depends on your day, but I usually grab 1 to 2. They are filling, especially if you used a good amount of protein powder and nut butter.
Can I use quick oats instead of old fashioned?
Yes. The texture will be softer and a little less chewy, but they still work.
Are these gluten free?
They can be. Just use certified gluten free oats and double check your protein powder label.
A snack you will actually keep making
If you try these No Bake Protein Energy Balls once, you will probably start keeping the ingredients on hand like I do. They are quick, flexible, and they hit that sweet snack spot without turning into a sugar crash later. For extra inspiration, I like checking out this No-Bake Protein Balls Recipe – Love and Lemons and these classic No Bake Energy Bites | Gimme Some Oven because they always spark new mix in ideas. Now go make a batch, pop them in the fridge, and thank yourself tomorrow when snack time is handled.
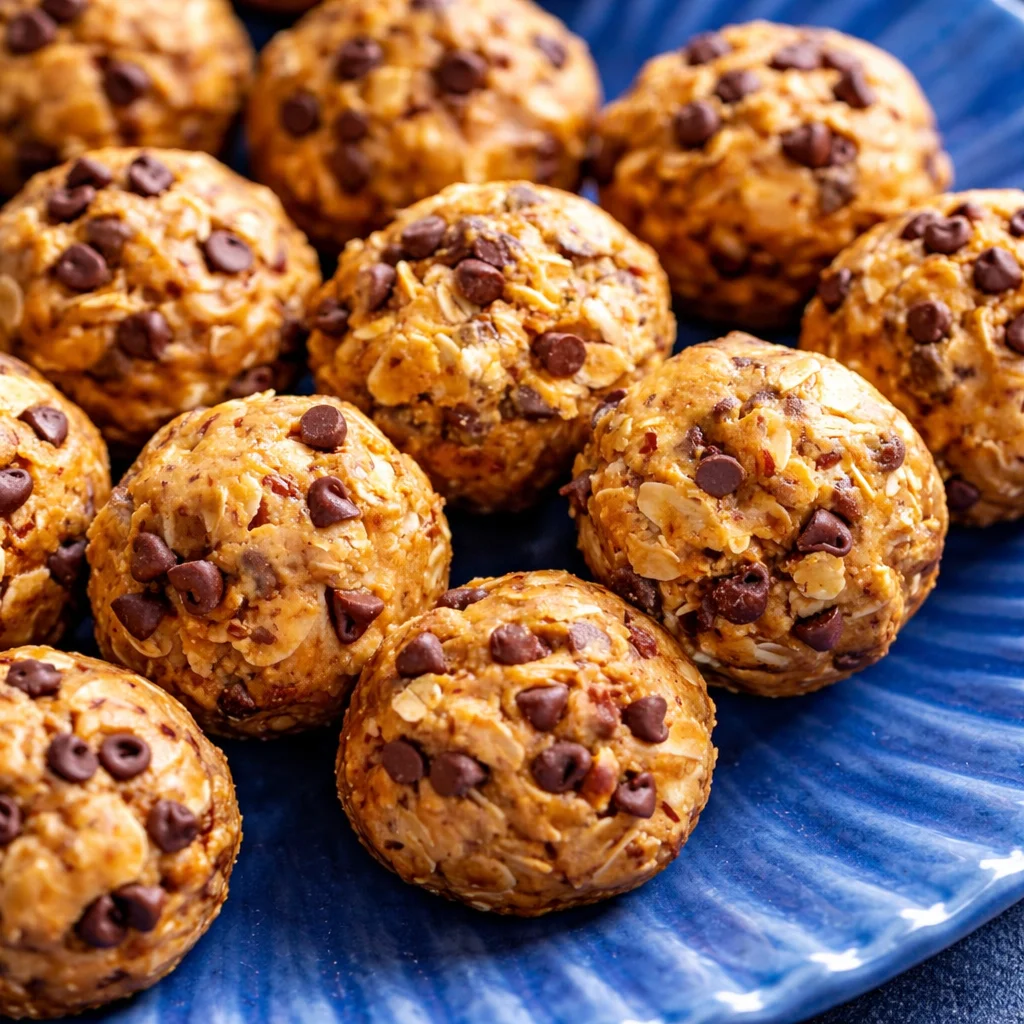
No Bake Protein Energy Balls
Ingredients
Method
- Add oats, protein powder, chia or flax, and salt to a bowl. Stir it up first to avoid clumping.
- Mix in nut butter, honey or maple syrup, and vanilla until combined. Use a sturdy spoon, then switch to clean hands if necessary.
- Adjust texture by adding milk if the mixture is too dry or oats if too sticky.
- Fold in chocolate chips or any mix-ins last to prevent melting.
- Roll mixture into balls, aiming for about 1 tablespoon each.
- Place on a plate or tray and chill for 20 to 30 minutes to firm up.