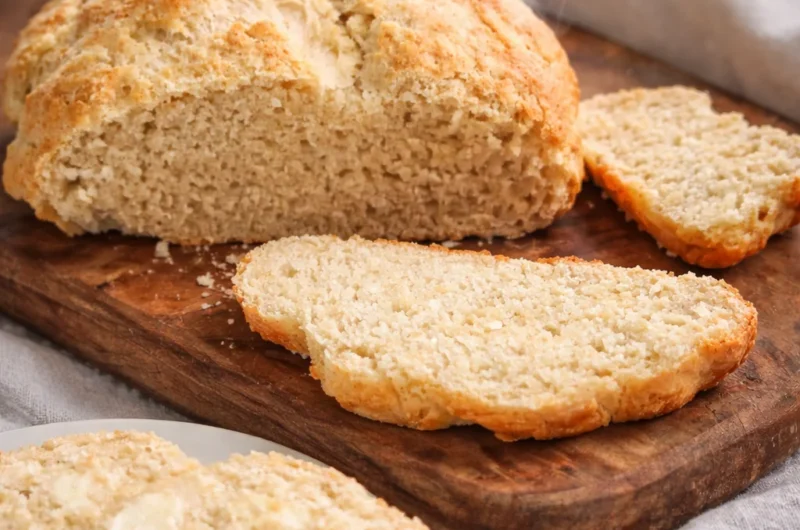






























Australian damper bread recipe days usually start the same way for me: it is chilly outside, I want something warm with my tea, and I do not want to fuss with yeast or long rising times. If you have ever stared into your pantry hoping flour will magically turn into comfort food, this one is for you. Damper is that cozy, no drama loaf you can mix fast, bake fast, and eat fast. It is also a great “I forgot to buy bread” backup that still feels a bit special. Let me walk you through how I make it at home, plus a bunch of easy ways to change it up depending on what you are craving. 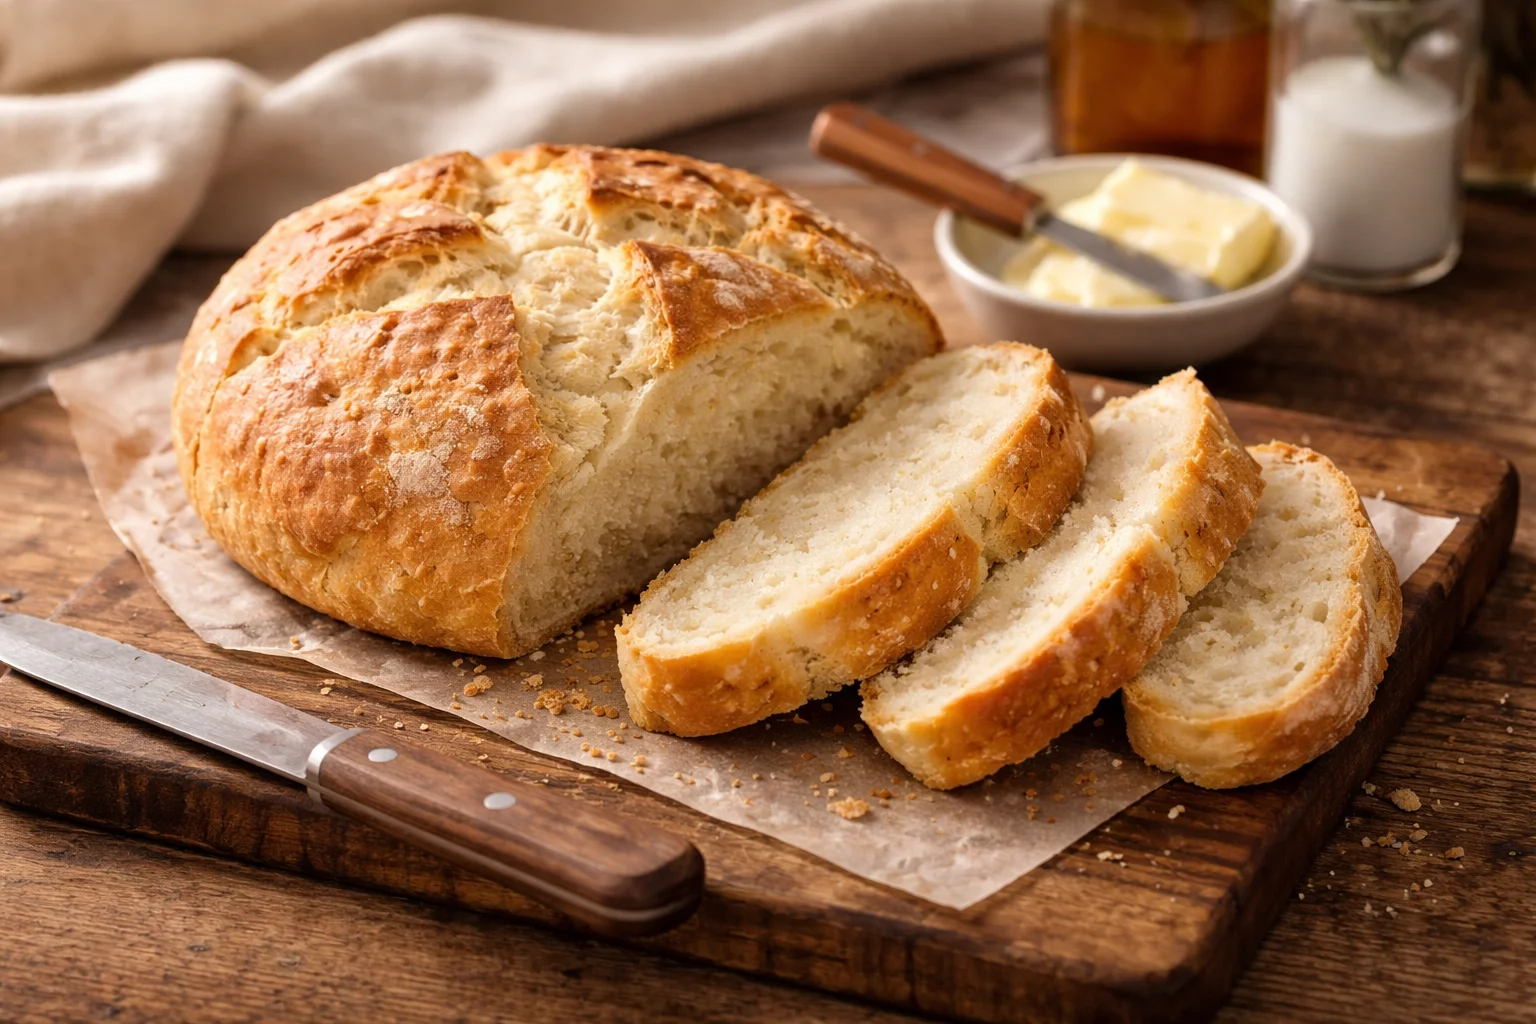
Early versions of damper
Damper has a practical little backstory, which makes me love it even more. Early versions of damper were made by stockmen, drovers, and travelers who needed something filling and simple while moving through the bush. No fancy pantry, no stand mixer, no time. Just basic ingredients, a fire, and a pot or a camp oven.
The idea was straightforward: mix flour, salt, and water (sometimes with a little fat), shape it into a round, then bake it in hot coals or in a covered pot. It was sturdy, meant to travel, and it tasted pretty great when eaten warm with tea, syrup, or whatever you had on hand.
These days, we are lucky. We can do damper in a normal oven, and it still gives that rustic, comforting vibe. The best part is that even though it is “old school,” it fits modern life perfectly because it is quick and forgiving.
If you like exploring old fashioned comfort bakes, you might also enjoy my other simple bread and biscuit ideas that use basic pantry staples and minimal effort.
Damper ingredients
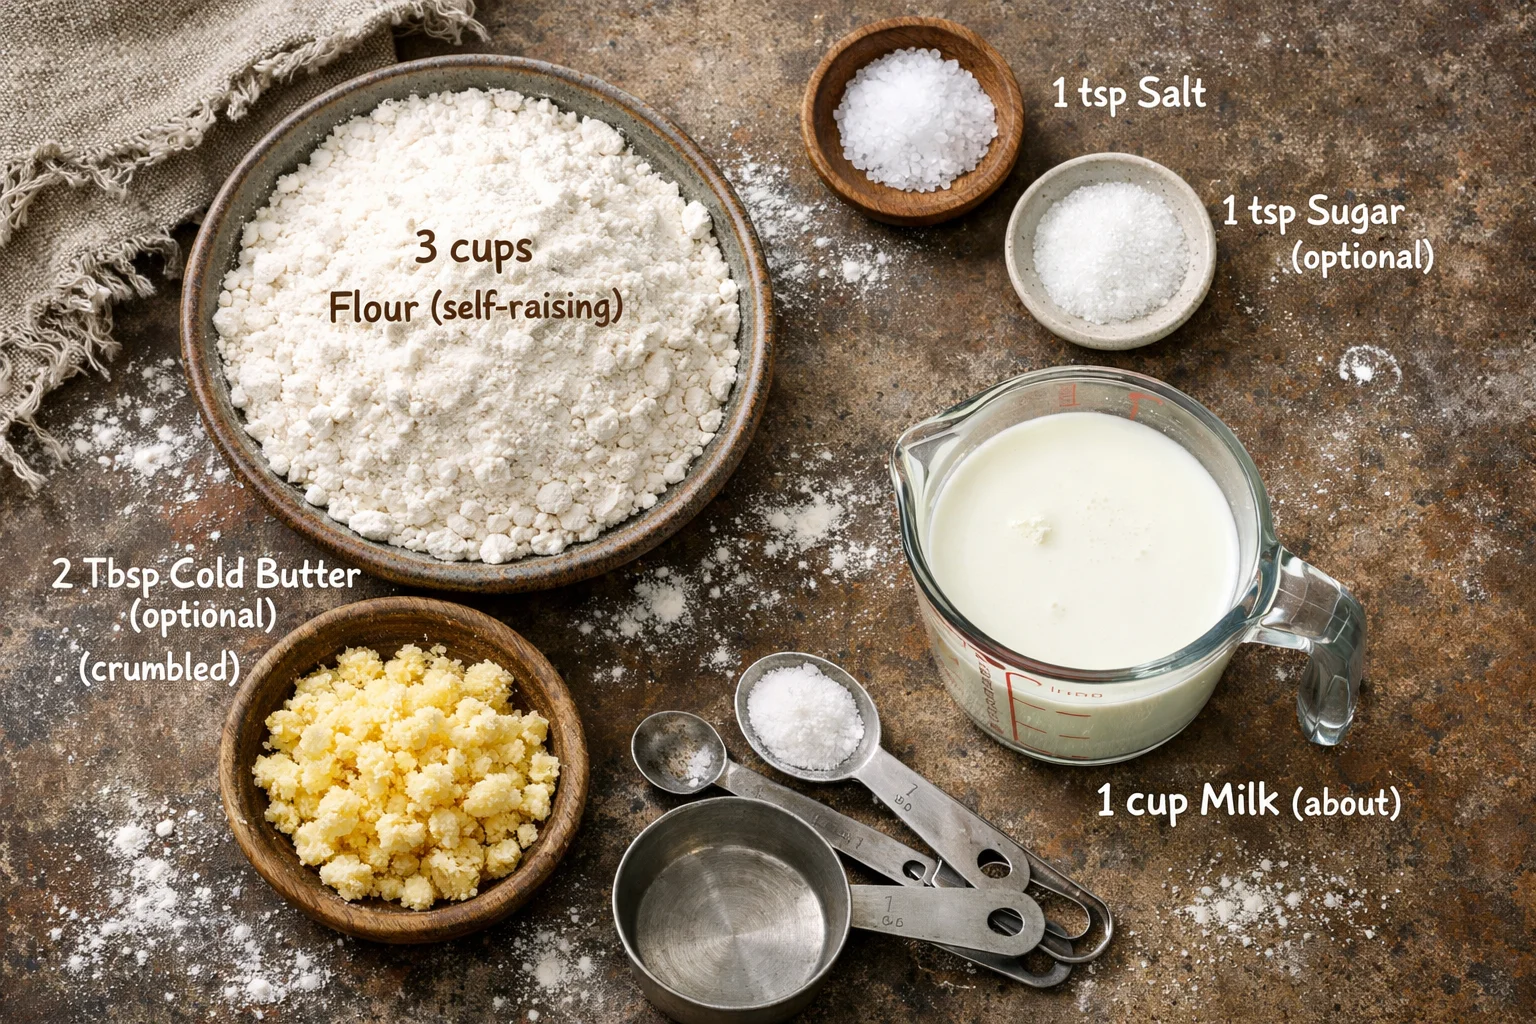
I keep my damper simple, because that is the whole point. This is the kind of recipe you can memorize after making it once. Here is what you need for my go to Australian damper bread recipe, plus a couple of optional extras if you want it richer.
What you will need
- Self raising flour, 3 cups (or plain flour plus baking powder if that is what you have)
- Salt, 1 teaspoon
- Cold butter, 2 tablespoons, rubbed in (optional but I love it)
- Milk, about 1 cup (or water if you want it traditional)
- Optional: a teaspoon of sugar for a gentler flavor, or a splash of extra milk for brushing on top
My personal note: milk gives a softer crumb and a slightly sweeter smell as it bakes. Water is more old school and a touch chewier. I have made it both ways many times, and I pick based on mood and what is in the fridge.
Quick method, in plain language:
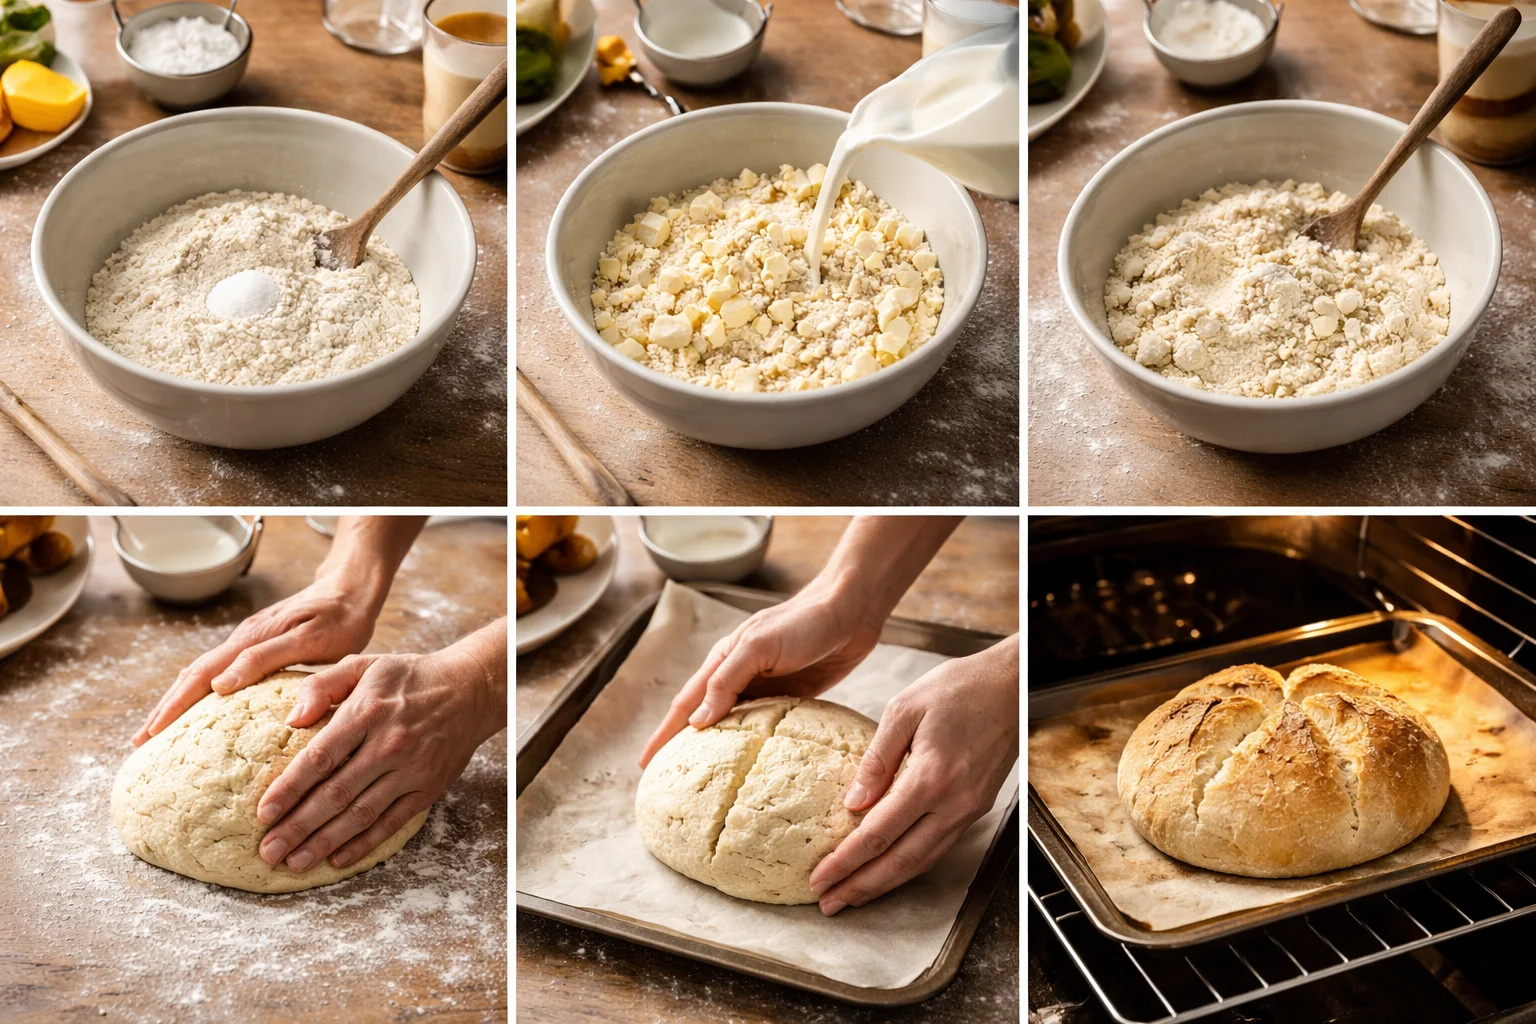
Preheat your oven to 200 C or 400 F. In a large bowl, mix flour and salt. Rub in the butter with your fingertips until it looks a bit like rough sand. Pour in most of the milk, stir gently, and add a tiny splash more only if you need it. When it comes together into a soft dough, stop mixing. Shape into a round, place on a lined tray, and cut a deep cross on top. Bake for about 25 to 30 minutes until it is golden and sounds hollow when you tap the bottom.
One more thing I learned the hard way: if you keep stirring and squashing the dough like you are mad at it, it can bake up heavy. Damper likes a light touch.
Tips for making damper
This is the part where I save you from the little mistakes I have made so you do not have to. I have baked this Australian damper bread recipe on lazy Sundays, on busy weeknights, and once when friends were already in the driveway. It is reliable, but a few tips make it even better.
Keep the dough soft, not dry. If it looks crumbly and refuses to come together, add milk one tablespoon at a time. If it feels sticky and wet, sprinkle in a little flour.
Do not knead it like yeast bread. A few gentle turns is enough. Overworking can make it tough.
Cut that cross deep. It helps the center cook through and gives you that classic damper look.
Use a hot oven. Damper needs that quick blast of heat to rise nicely.
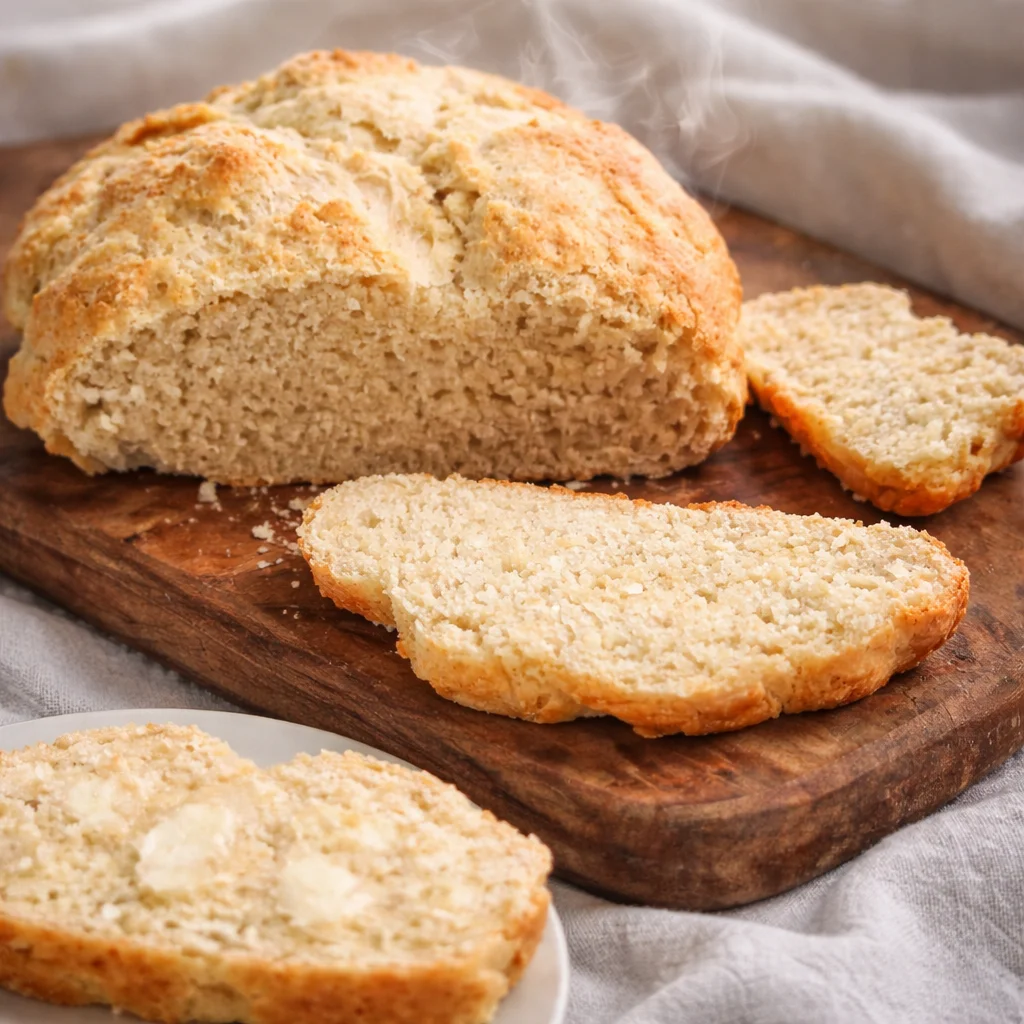
Let it rest before slicing. I know it is hard. Give it 10 minutes so the inside sets, or it can seem gummy.
“I tried this damper on a rainy afternoon and it was honestly the easiest bread I have ever made. Warm with butter and jam, it felt like a hug.”
If you are the type who likes to plan ahead, you can mix your dry ingredients earlier in the day and keep them in a container. Then when the craving hits, you just add milk and bake. That is my favorite trick for cozy weekends.
Variations and serving ideas
Once you have the basic loaf down, you can make it your own. This is where damper gets fun, because it is basically a blank canvas. I still come back to the plain version often, but I love having options depending on whether I want something snacky, hearty, or a bit fancy.
Easy ways to serve it
- Warm slices with butter and honey
- Butter and golden syrup for that old school comfort
- Jam and a big mug of tea
- Soup sidekick, especially pumpkin soup or tomato soup
- Split and toast it the next day, then add cheese on top
If you want to lean into the cozy “weekend brunch” vibe, try serving damper with scrambled eggs and a little chutney. It is not traditional, but it is delicious and nobody complains.
Also, damper is surprisingly good for simple sandwiches. Let it cool fully, slice it, then add ham and cheddar, or roasted veggies with a swipe of mayo. It is rustic, sure, but that is the charm.
For more quick comfort food ideas that pair well with fresh baked bread, you can also check my easy soup and cozy dinner recipes.
Sweet and Savoury Damper Ideas
If you are making this Australian damper bread recipe often, you will probably start experimenting without even thinking about it. Here are my favorite add ins, the ones that actually work without making the loaf weirdly wet or dense.
Sweet ideas
Cinnamon and sultanas: Add 1 to 2 teaspoons cinnamon and a handful of sultanas. I also add 1 teaspoon sugar if I am going for a gentle “tea bread” feel.
Chocolate chips: A handful stirred in right at the end. This one disappears fast if kids are around.
Orange zest: Just a little bit makes it smell amazing. Great with butter and marmalade.
Savoury ideas
Cheese and chives: My absolute favorite. Add a cup of grated cheddar and a tablespoon of chopped chives or spring onion. Serve it with soup or just butter.
Bacon and pepper: A small handful of cooked chopped bacon plus a few cracks of black pepper. It turns your damper into a proper snack.
Garlic and herbs: A pinch of garlic powder plus dried mixed herbs is an easy upgrade. Brush the top with milk or a little melted butter for extra color.
One heads up: if you add lots of cheese or sugary add ins, your loaf may brown faster. If the top looks dark before the time is up, just lay a piece of foil loosely over it for the last 10 minutes.
Common Questions
Can I make damper with plain flour?
Yes. For every 3 cups of plain flour, add about 4 1/2 teaspoons baking powder and whisk it in well with the salt first.
Why is my damper heavy?
Usually it is from overmixing or adding too much flour. Stir just until combined and keep the dough soft.
How do I store leftovers?
Wrap it tightly and keep at room temp for a day or two. After that, slice and freeze. It toasts beautifully straight from frozen.
Can I cook damper in a cast iron pot?
Yes, and it is great. Preheat the pot, line it with baking paper, then bake with the lid on for most of the time. Remove the lid near the end for browning.
What do I do if I do not have milk?
Water works just fine. You can also use diluted evaporated milk, or even a thin yogurt and water mix in a pinch.
A warm loaf is always a good idea
If you have been wanting an easy bake that feels comforting without being complicated, this Australian damper bread recipe really delivers. It is quick, forgiving, and it makes your kitchen smell like something good is happening. If you want to compare notes or see another home cook’s approach, I like this write up from Australian damper bread – Caroline’s Cooking, and these cute smaller portions from Australian Damper Recipe | Wandercooks. Now go grab your flour and a bowl, and give it a try this week. You deserve warm bread with butter, even if the day has been a lot.
Australian Damper Bread
Ingredients
Method
- Preheat your oven to 200°C (400°F).
- In a large bowl, mix flour and salt.
- Rub in the butter with your fingertips until it resembles rough sand.
- Pour in most of the milk, stir gently, and add more only if necessary to form a soft dough.
- Shape the dough into a round and place on a lined tray.
- Cut a deep cross on top.
- Bake for about 25 to 30 minutes until golden and sounds hollow when tapped on the bottom.