peanut butter blossoms ingredients are one of those things I always think I have, until I actually start baking and realize I am missing something important like brown sugar or the little chocolate kisses. If you have ever promised cookies for a party, a school thing, or just a cozy night in, you know that tiny wave of panic. The good news is these cookies are simple, forgiving, and honestly kind of impossible to mess up if you follow a few basics. I make them every year, and somehow they still feel special every single time. Let’s talk about what makes them so good, what you actually need, and how to nail that classic soft cookie with the chocolate center. 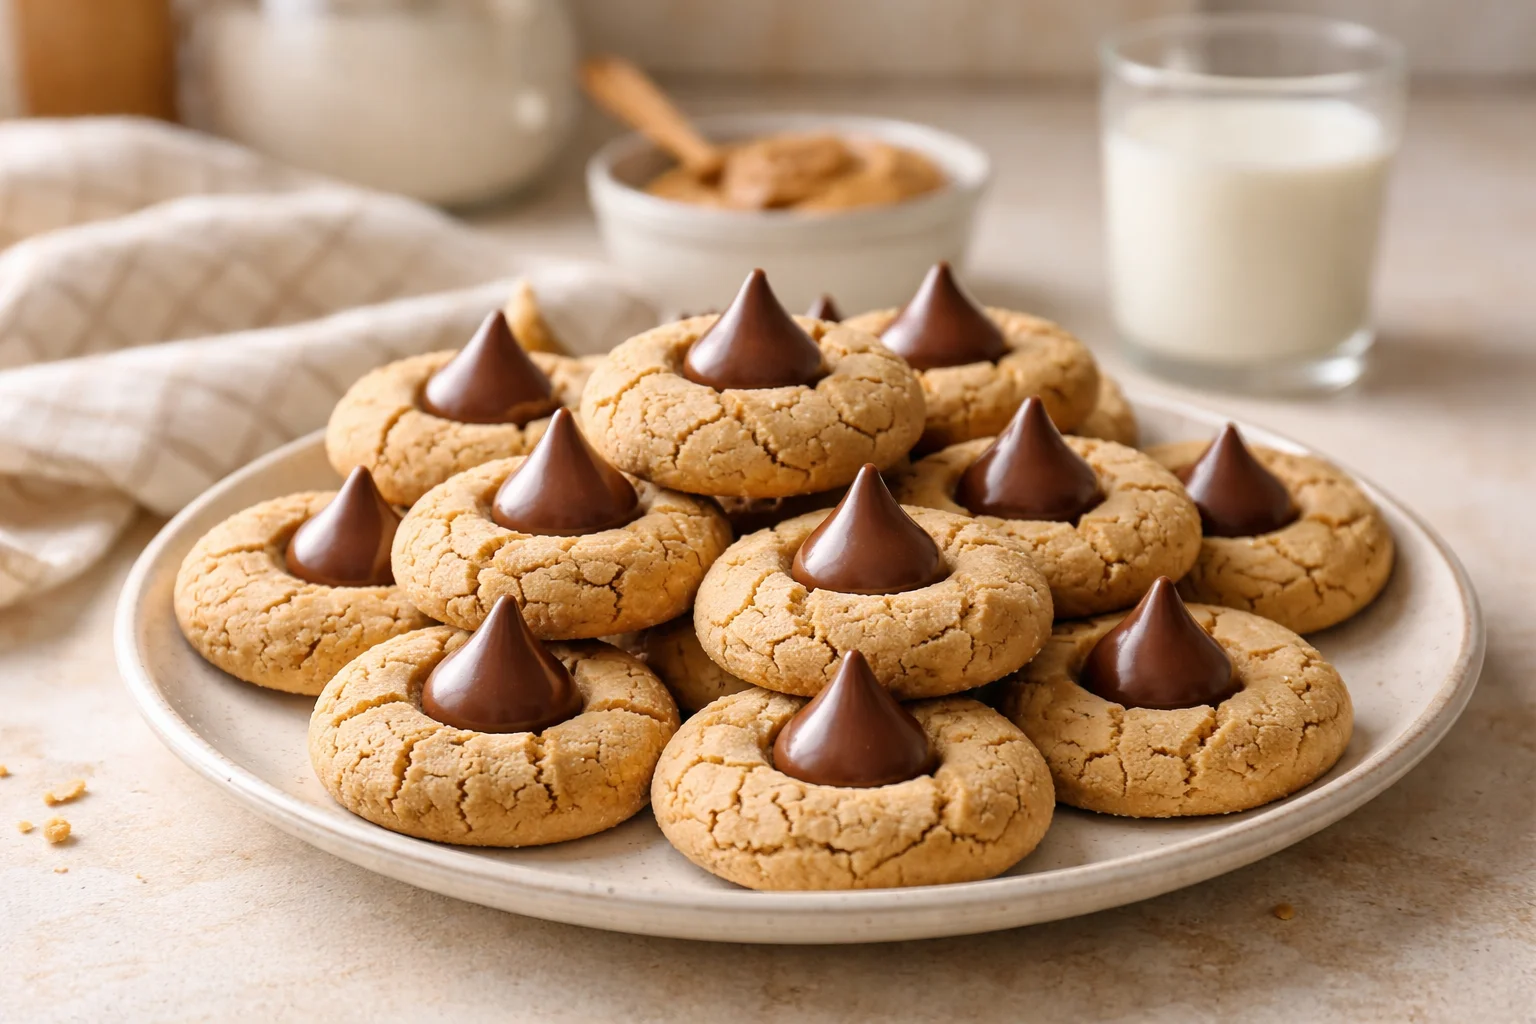
What Makes These the Best Peanut Butter Blossoms?
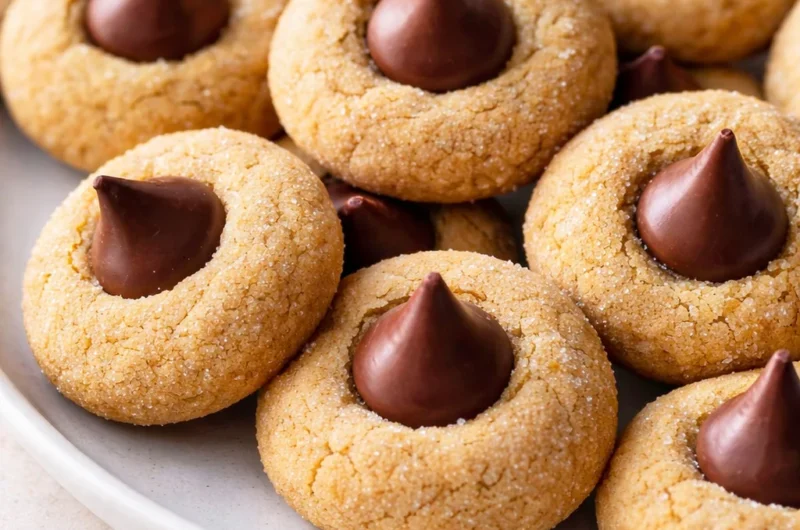
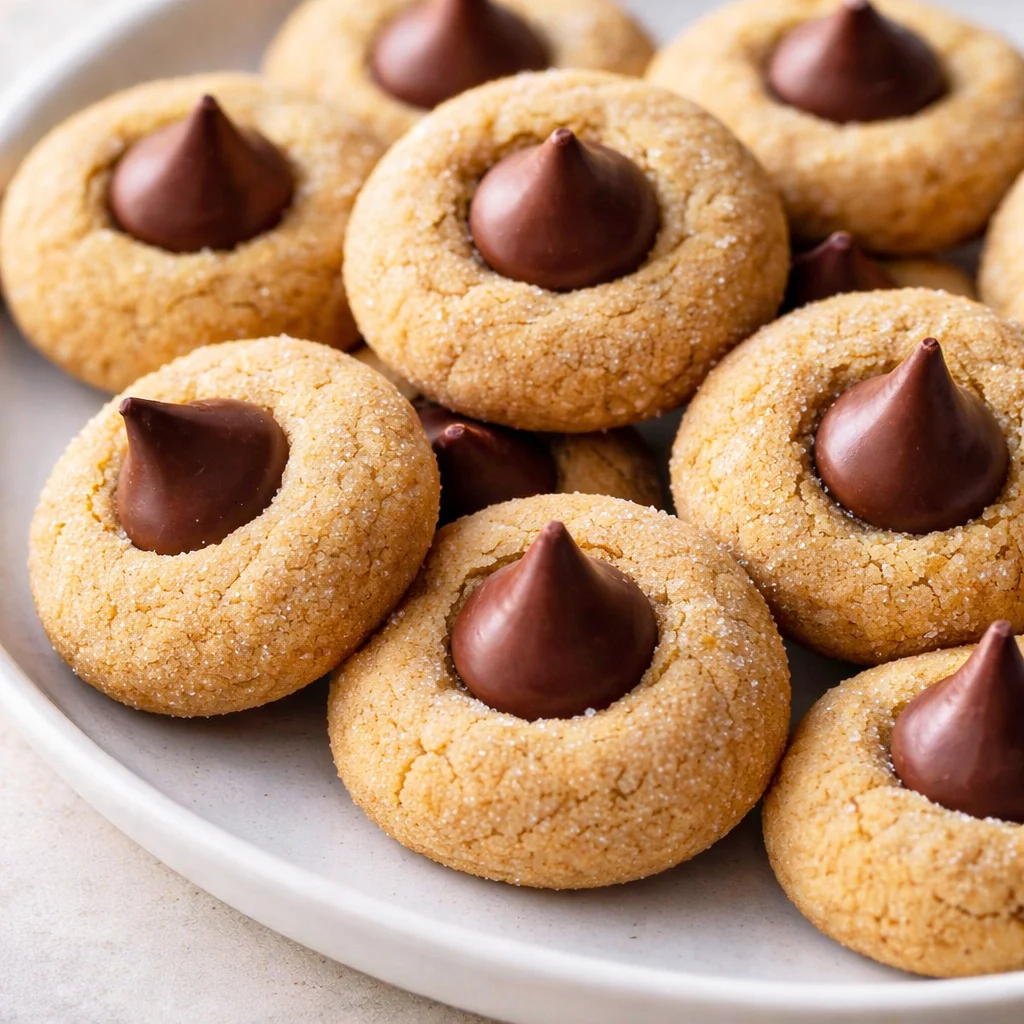
I have tried a lot of versions, and the best ones always come down to balance. You want a cookie that tastes like peanut butter first, not just sugar with a peanut butter afterthought. You also want a soft middle, slightly crisp edges, and a chocolate kiss that stays pretty instead of melting into a sad puddle.
Here is what I think makes the difference:
1) The dough texture. If it is too dry, the cookies crack like crazy and feel crumbly. If it is too wet, they spread too much and lose that cute rounded shape.
2) The timing of the chocolate kiss. You press it in right after baking, when the cookie is warm enough to accept it, but not so hot that the chocolate completely collapses.
3) The sugar coating. Rolling the dough balls in sugar is not just for sparkle. It adds a tiny crisp bite on the outside that makes the soft inside even better.
If you want more cookie inspiration for your baking days, I usually keep my go to ideas bookmarked like easy holiday cookie recipes so I am not scrolling forever when I need something quick.
“I made these for my kids’ class party and they were gone in minutes. The cookies stayed soft the next day too, which never happens for me.”
Key Ingredients in Peanut Butter Blossom Cookies
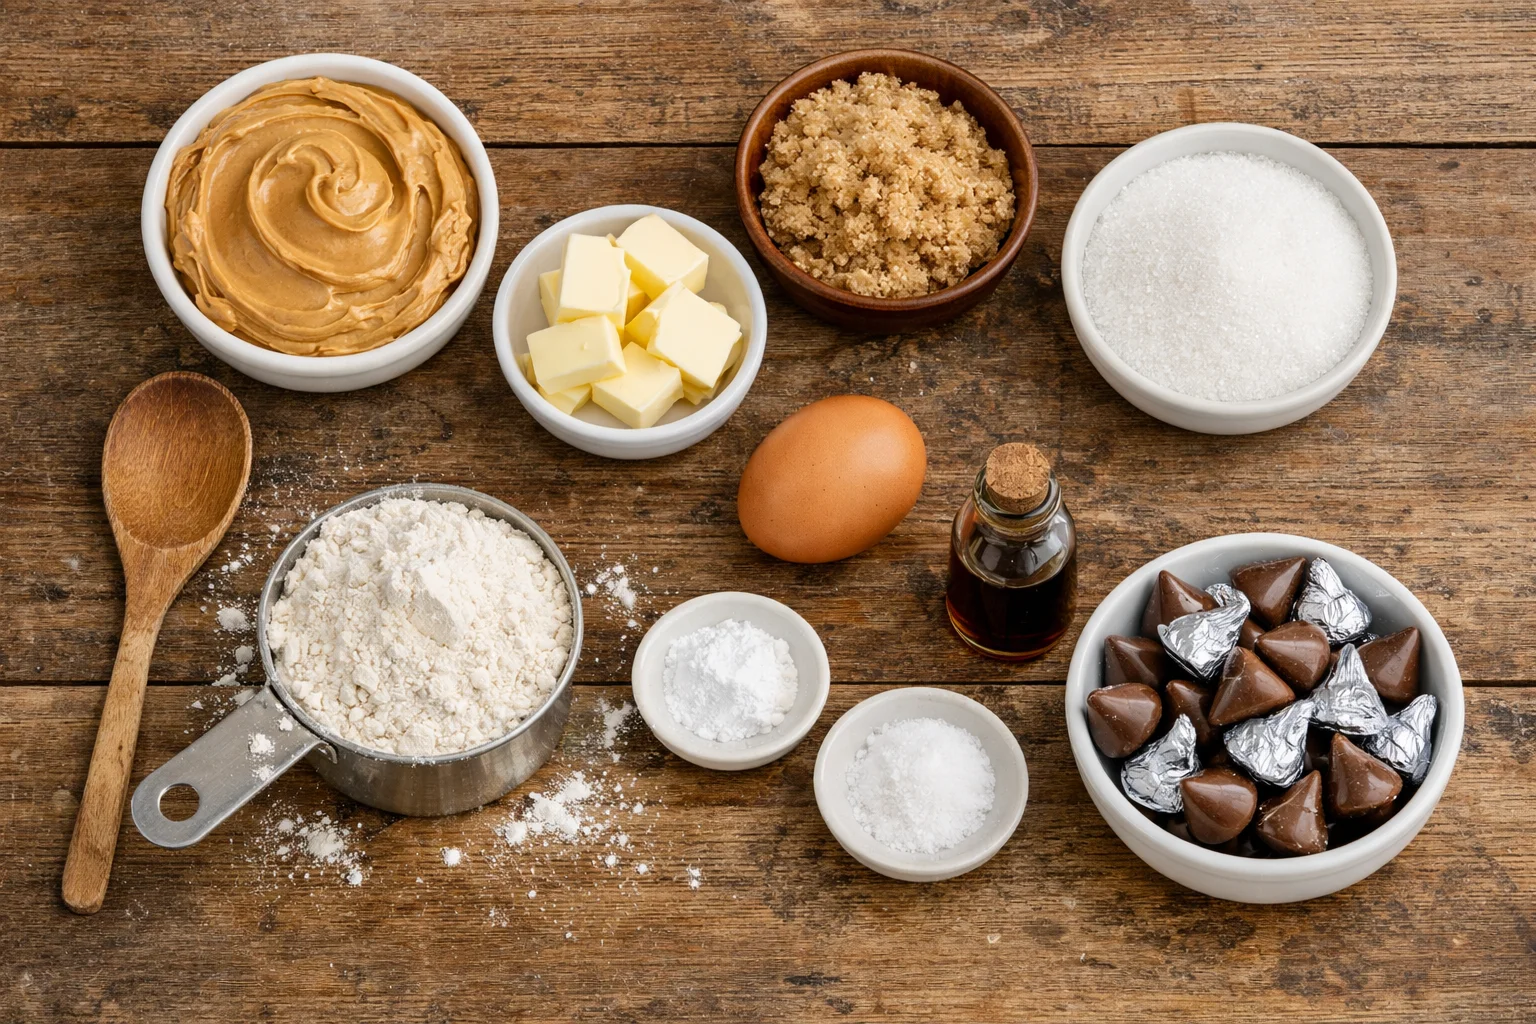
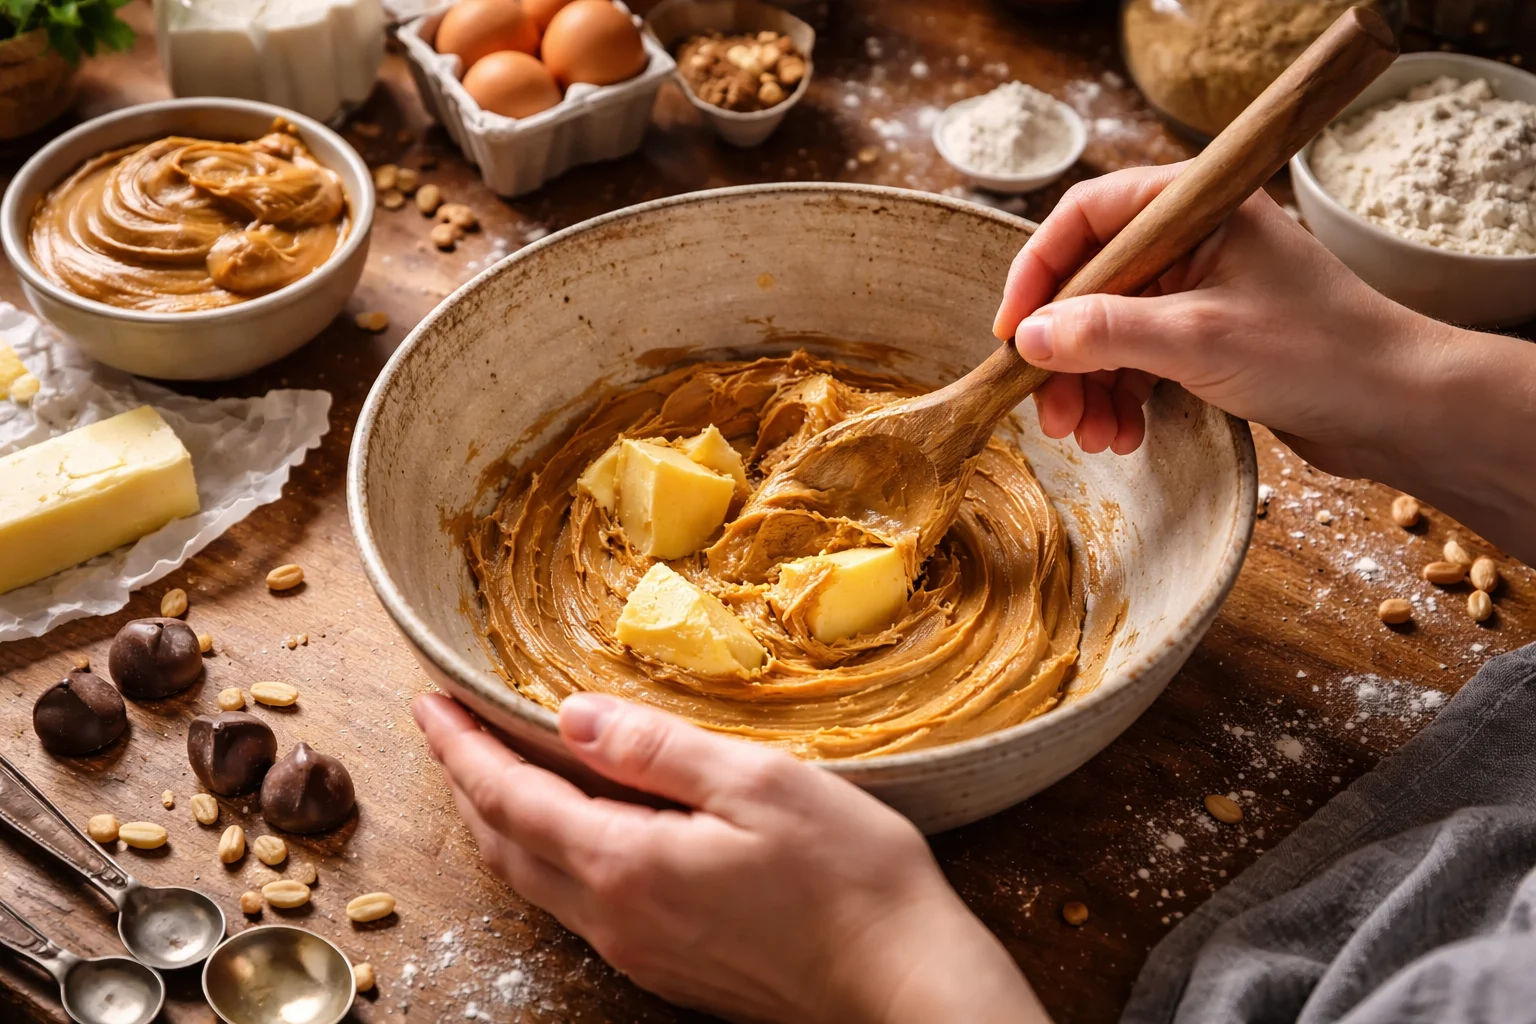
Let’s get into the heart of it: peanut butter blossoms ingredients you will actually love using, because they are normal pantry staples and they work. I am also adding a few notes on why each one matters, because knowing that makes you a better baker without any extra effort.
The must have ingredients (and why they matter)
- Creamy peanut butter: Classic flavor and smooth dough. Natural peanut butter can work, but it can make the dough oily or crumbly depending on the brand.
- Unsalted butter: Gives richness and helps the cookies hold that tender bite. If you only have salted butter, use it and just reduce added salt a bit.
- Brown sugar: Adds moisture and that warm, slightly caramel taste. This is a big reason the cookies stay soft.
- Granulated sugar: Sweetness and structure, plus extra for rolling the dough balls.
- Egg: Holds everything together and helps the cookie puff slightly.
- Vanilla extract: Makes the peanut butter taste more like peanut butter, if that makes sense.
- All purpose flour: The backbone of the cookie.
- Baking soda: Helps the cookies rise a little and keeps them from being dense.
- Salt: Just a pinch, but it keeps the flavor from tasting flat.
- Chocolate kisses: The signature center. Unwrap them ahead of time, trust me.
If you are the kind of person who likes having baking basics on hand, you might also enjoy my shopping style checklist like pantry staples for baking, because it saves me from last minute grocery runs.
Also, this is where I will say it plainly: peanut butter blossoms ingredients are simple, but quality matters. Use peanut butter you actually like the taste of. Use fresh baking soda if yours has been living in the back of the cabinet since last year.
Pro Tips for Making This Recipe
This is the part I wish someone had told me the first time I made these. The cookies are easy, but a few small moves make them look and taste bakery level without extra work.
Small details that make a big difference
Chill the dough if your kitchen is warm. Even 20 to 30 minutes helps the cookies keep their shape. If it is summer or your oven makes your kitchen hot, chilling is your best friend.
Use a cookie scoop if you have one. Even sizing means even baking. If you do not have a scoop, just aim for about 1 tablespoon of dough per cookie.
Roll gently. If you pack the dough too hard into a tight ball, you can end up with cracks around the edges. A light roll works better.
Do not overbake. Pull them when the edges look set but the centers still look a little soft. They finish baking on the tray.
Press the kiss in carefully. Straight down, no twisting. Twisting can cause extra cracking. If the cookie cracks a bit anyway, it is still cute and still delicious.
I also like to unwrap all the kisses before the cookies go into the oven. It sounds silly, but when the timer goes off you want to move fast. Unwrapping chocolate with warm hands while cookies cool is not my idea of fun.
When I am planning a bigger cookie tray, I pair these with something lighter like soft sugar cookie cutouts so there is a mix of flavors and textures.
Possible Variations
Once you have the classic version down, it is honestly fun to play around. The basic cookie dough is pretty flexible, and you can tweak it based on what you have or what your people like.
Here are a few easy ideas:
Try different kisses. Milk chocolate is classic, but dark chocolate makes the peanut butter pop. There are also caramel filled kisses if you want extra sweetness.
Use chunky peanut butter. It adds a little crunch. I only do this if I know everyone likes peanut pieces.
Swap the sugar roll. Roll the dough balls in cinnamon sugar for a warm, snickerdoodle vibe.
Mini version. Make smaller dough balls and use mini kisses. They bake faster, so keep an eye on them.
Gluten free. A 1 to 1 gluten free flour blend usually works fine. Just expect a slightly different texture.
No matter the variation, I stick with the same peanut butter blossoms ingredients base because it is reliable and it tastes like the real deal.
Storing and Reheating
These cookies are the kind you can bake ahead, which is a big deal during busy weeks. They also travel well, so they are great for cookie swaps, potlucks, and gifting.
How to keep them fresh
Room temp storage: Put them in an airtight container for up to 4 to 5 days. I like placing a piece of bread in the container to help keep them soft. The cookies do not taste like bread, I promise.
Freezing: Freeze baked cookies in a freezer safe container for up to 2 months. Let them thaw at room temp. You can also freeze dough balls (without sugar coating) and bake from frozen. Just add a minute or two to the bake time.
Reheating: If you want that fresh baked feel, microwave one cookie for about 8 to 10 seconds. Do not overdo it or the chocolate gets too melty.
One more tip: if you stack them, the kisses can get smudged. If you care about looks, layer parchment between rows.
Common Questions
1) Can I use natural peanut butter?
Yes, but it depends on the brand. If it is very oily or runny, the dough can spread more. Stir it really well and consider chilling the dough longer.
2) Why did my cookies crack a lot?
A little cracking is normal. Too much can happen if the dough is dry, the balls are rolled too tightly, or there is too much flour. Spoon and level your flour instead of packing it.
3) When do I add the chocolate kiss?
Right after the cookies come out of the oven. Press gently. The cookie will crack slightly around the edges, and that is part of the classic look.
4) Can I make the dough ahead of time?
Definitely. Cover and chill it for up to 2 days. Let it sit on the counter for 10 to 15 minutes before scooping if it is too firm.
5) How do I keep the kisses from melting?
Do not put the cookies back in the oven after adding the kisses. Also, let the cookies cool on the tray for a few minutes before moving them so the chocolate has a chance to set.
A Sweet Little Wrap Up Before You Bake
Once you get comfortable with peanut butter blossoms ingredients, you will see why people bake these on repeat. They are cozy, simple, and they hit that perfect peanut butter plus chocolate combo without being fussy. If you want to compare approaches, I have pulled ideas from Classic Peanut Butter Blossoms – Sally’s Baking Addiction, plus tips from Peanut Butter Blossoms – Preppy Kitchen, and I also like how straightforward this is on Classic Peanut Butter Blossom Cookies Recipe – BettyCrocker.com. Pick the vibe you like, then make it yours. Now go unwrap those kisses, preheat that oven, and bake a batch you will actually be excited to share.
Peanut Butter Blossoms
Ingredients
Method
- Preheat the oven to 350°F (175°C).
- In a bowl, mix together peanut butter, softened butter, brown sugar, and granulated sugar until smooth.
- Add the egg and vanilla extract, mixing until combined.
- In a separate bowl, whisk together flour, baking soda, and salt.
- Gradually add dry ingredients to the wet mixture until fully combined.
- Chill the dough in the refrigerator for 20 to 30 minutes if your kitchen is warm.
- Scoop about 1 tablespoon of dough for each cookie and roll into balls, then coat in sugar.
- Place the dough balls on a baking sheet lined with parchment paper, spacing them 2 inches apart.
- Bake for 8-10 minutes, or until the edges are set but the centers are still soft.
- Remove from the oven and immediately press a chocolate kiss gently into the center of each cookie.
- Allow the cookies to cool on the baking sheet for a few minutes before transferring to a wire rack to cool completely.