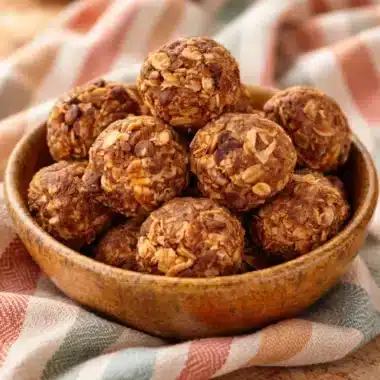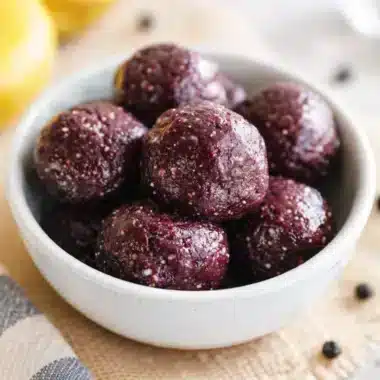















Vanilla Protein Balls are my go to fix for that very specific moment when you want something sweet, but you also want to feel good after you eat it. You know the moment, right? You open the pantry, you stare at a few snack options, and suddenly everything feels either too sugary or too much work. These little bites are fast, no oven needed, and they actually keep me full for longer than a cookie ever does. I started making them for busy afternoons, and now I keep a batch in the fridge almost every week. Let me show you my simple, no stress way to make them at home. 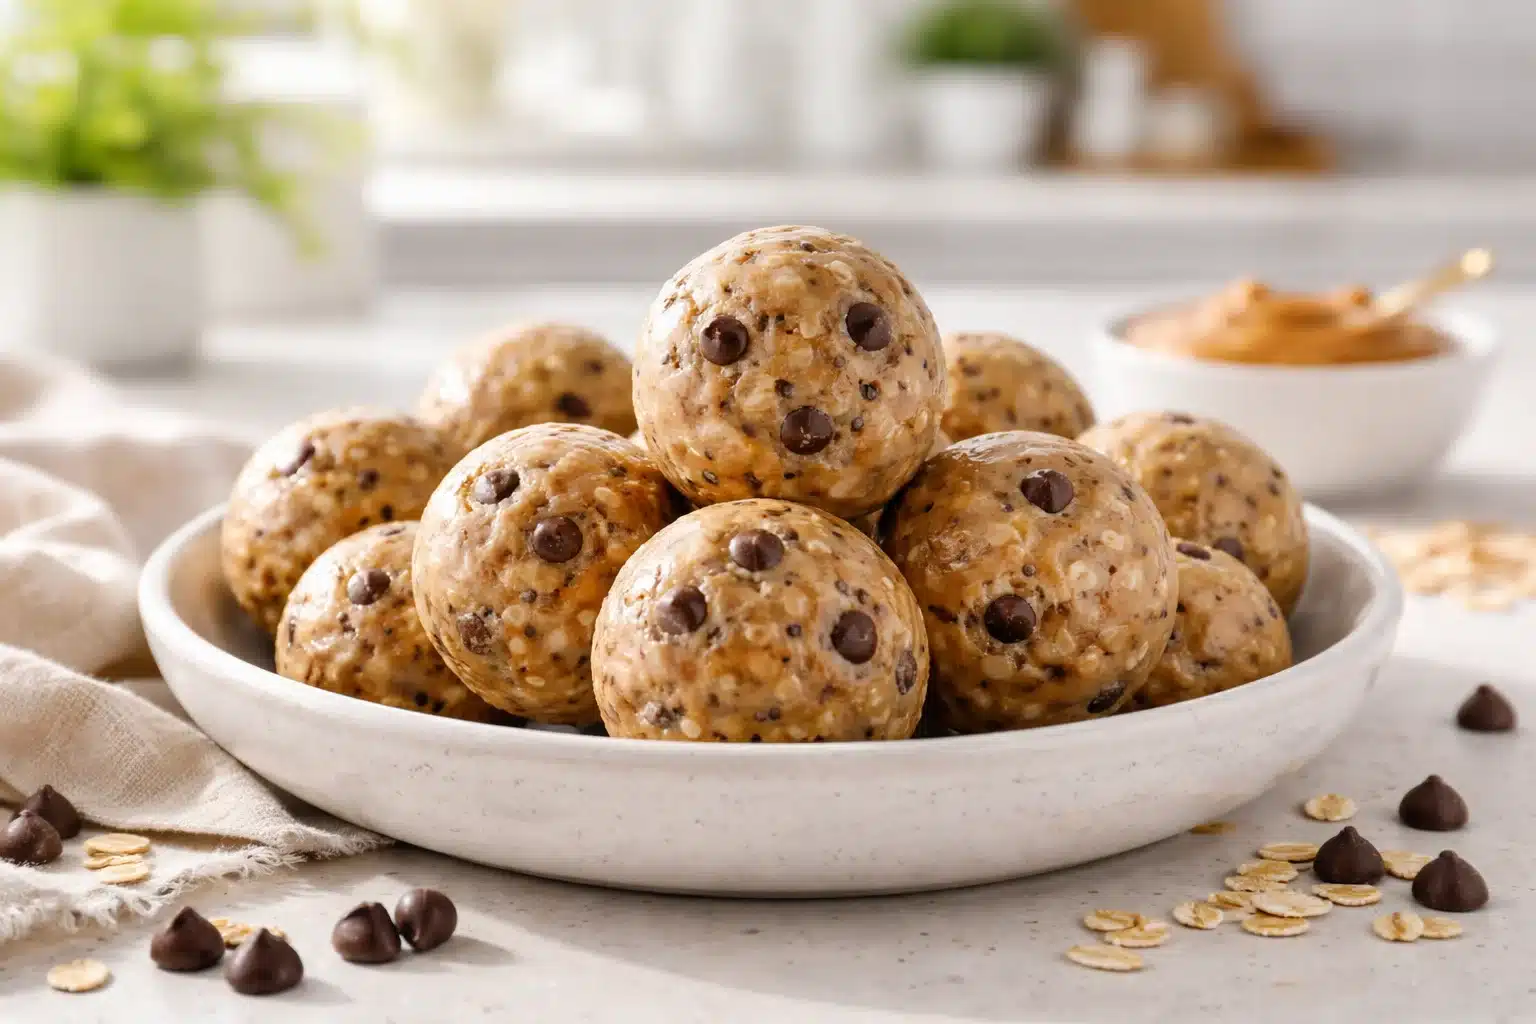
The Benefits of No-Bake Protein Balls
I love recipes that don’t make me wash five different pans. That’s the first win here. But honestly, the bigger win is that Vanilla Protein Balls feel like a treat while still being a pretty wholesome snack.
Here’s what makes them such a solid choice in real life, not just on paper:
- No baking, so they’re perfect for hot days or when you just don’t feel like turning on the oven.
- Quick to make. Once you’ve done it once, you can mix a batch in about 10 minutes.
- Easy portion control. Rolling them into bites helps me avoid the oops I ate half the pan situation.
- Protein plus fiber. If you use oats, nut butter, and protein powder, you get that satisfying combo.
- Meal prep friendly. They hold up well in the fridge, and you can freeze them too.
Also, if you’re the kind of person who loves having “something sweet” after dinner, a couple of these can totally hit the spot without sending you into a sugar spiral.
Random side note, if you’re into other snacky bite style recipes, I’m also weirdly obsessed with rum balls during the holidays. Different vibe, same poppable joy. Here’s one I’ve bookmarked and made more than once: traditional German rum balls.
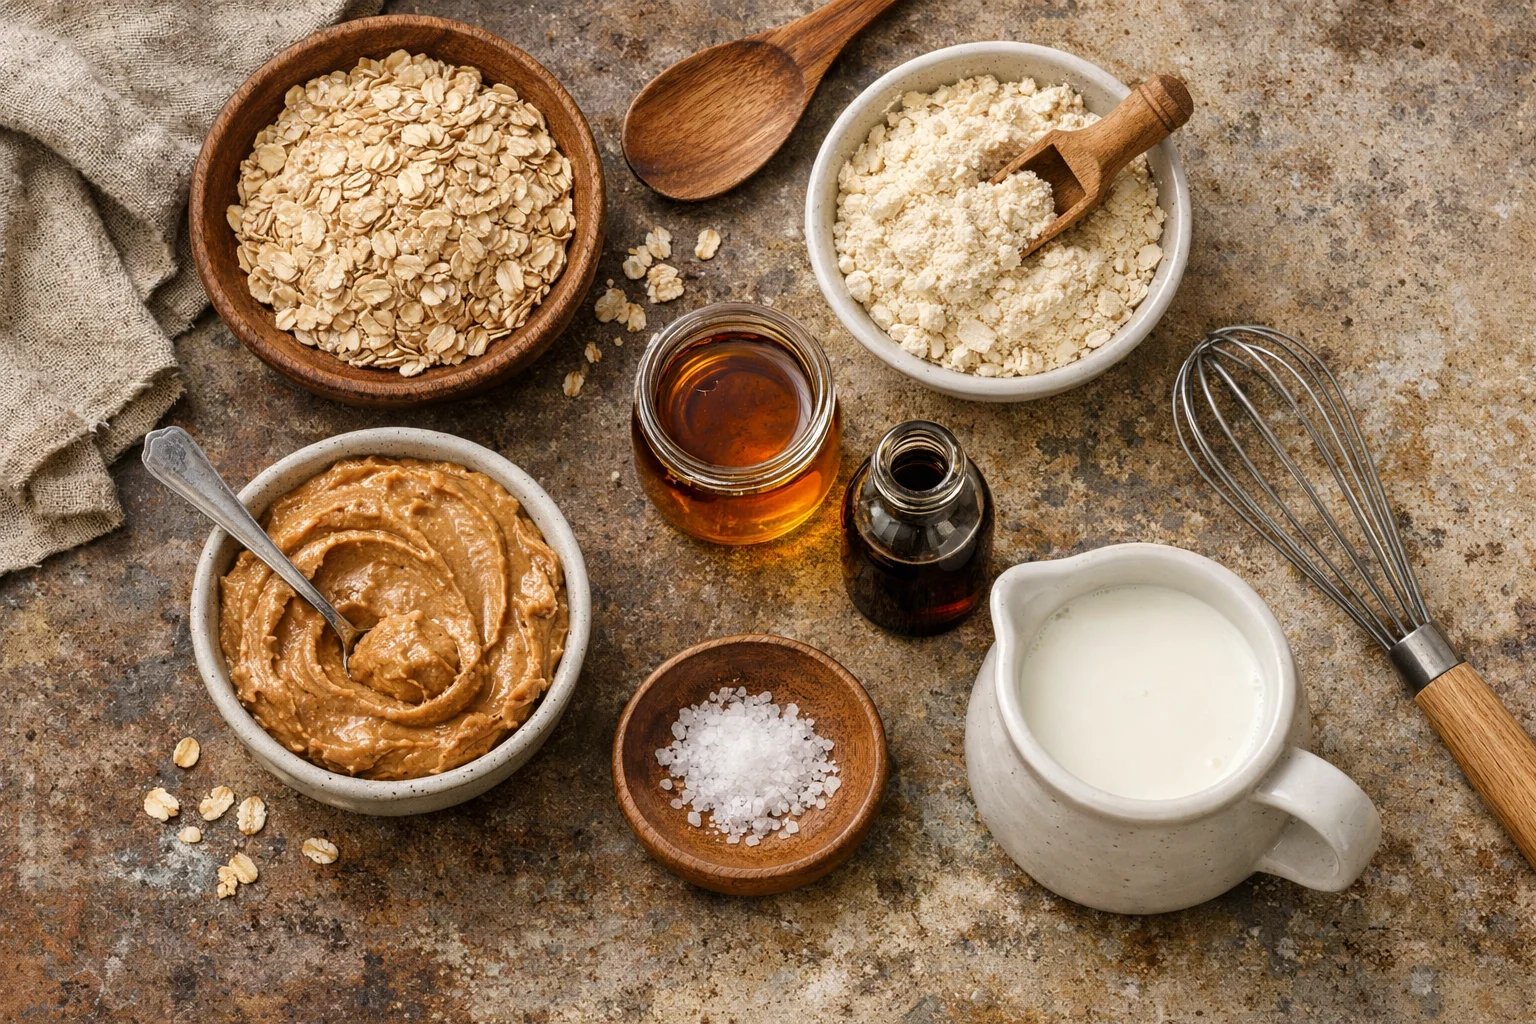
Essential Ingredients for Protein Balls
This is where things get flexible, but I’ll tell you what I actually use and why. I’m not precious about brands, but I do care about texture. Nobody wants a protein ball that tastes like dry chalk.
My go to ingredient list
Here’s the simple lineup. You can tweak it later, but this is a great starting point.
- Old fashioned oats: The base. They add chew and keep the balls from turning into mush.
- Vanilla protein powder: This is the main flavor and the “protein” part. Whey or plant based both work.
- Nut butter: Peanut butter or almond butter. It binds everything and makes them rich.
- Honey or maple syrup: Just enough sweetness and stickiness to help them hold together.
- Vanilla extract: I know it sounds extra, but it makes them taste like a real treat.
- Pinch of salt: It wakes everything up and keeps them from tasting flat.
- Milk: Any kind, just a splash or two if the mixture is too dry.
A quick tip from my own trial and error: protein powders vary a lot. Some are super thirsty and some are already sweet. Start with less liquid, then add tiny splashes. You can always add more, but you can’t un-soggy a batch.
And if you’re in a vanilla mood in general, I have to mention this dreamy sauce because it’s basically comfort in a spoon. If you ever want a warm dessert moment, check out German vanilla sauce.
Step-by-Step Guide to Making No-Bake Energy Balls
This is the part where you’ll laugh because it’s almost too easy. I’ve made these while talking on the phone and while waiting for coffee to brew. That’s how low effort it is.
How I make them (my exact method)
What you’ll do:
- Add oats, vanilla protein powder, and salt to a bowl. Stir it around so the salt doesn’t clump in one spot.
- Spoon in nut butter, honey or maple syrup, and vanilla extract.
- Mix with a sturdy spoon. When it starts getting thick, use clean hands. It’s messy but faster.
- If the mix seems dry or crumbly, add milk 1 teaspoon at a time until it sticks together when you squeeze it.
- Roll into bite size balls. I usually go for about 1 tablespoon each.
- Chill for at least 20 to 30 minutes so they firm up and taste even better.
That’s it. No baking, no complicated steps, and you can adjust as you go.
Here’s a little real life note: I used to rush the chilling step and eat them right away. You can, but they’re so much better cold. The flavor settles, and the texture gets that perfect chewy bite.
“I made these for my afternoon snack cravings and now my whole family grabs them from the fridge. They taste like vanilla cookie dough, but I don’t get that heavy sugar crash afterward.”
If you’re planning a bigger prep day with other easy proteins, I’ve also done a batch of oven baked meatballs at the same time and it makes the whole week feel easier. This one is super practical: healthy turkey meatballs oven baked.
Customization Ideas for Your Protein Balls
This is where the fun starts. Once you’ve made Vanilla Protein Balls a couple of times, you’ll probably start doing your own thing based on what you have in the pantry.
Some easy add ins and swaps that work well:
For more crunch: chopped almonds, walnuts, or pumpkin seeds.
For a dessert vibe: mini chocolate chips or white chocolate chips. Not too many, just enough to get a little surprise in each bite.
For extra fiber: chia seeds or ground flax. Start with 1 tablespoon so it doesn’t turn weirdly thick.
For a cozy flavor: cinnamon. Vanilla plus cinnamon tastes like a bakery situation.
For a nut free version: sunflower seed butter works great. It has its own flavor, but it’s still delicious with vanilla.
If you accidentally make the mixture too wet, don’t panic. Add a bit more oats or a spoonful of protein powder and mix again. If it’s too dry, add a tiny splash of milk. This recipe is honestly forgiving.
Tips for Storing and Preserving Your Protein Balls
These are the kind of snack that actually makes your fridge feel more “together.” Like you’re the sort of person who has snacks ready, even if you absolutely are not that person most of the time. I get it.
Storage that works in real life
In the fridge: Store in a sealed container for up to 7 days. I like to separate layers with parchment paper so they don’t stick together.
In the freezer: Freeze on a plate for about an hour, then transfer to a freezer bag. They keep well for up to 2 to 3 months.
How to eat from frozen: Let them sit out for 10 to 15 minutes, or toss one in your bag and it’ll be ready by snack time.
One more little tip: if your kitchen is warm, roll the balls and then chill them right away. Nut butter gets soft fast, and chilling helps them hold their shape.
And yes, I’ve eaten these straight from the freezer. It’s kind of like a chewy vanilla bite, and I’m not mad about it.
Common Questions
1) Why won’t my protein balls stick together?
Usually the mix is too dry. Add milk 1 teaspoon at a time, or add a bit more nut butter. Mix again and squeeze a little in your hand to test.
2) Can I make Vanilla Protein Balls without oats?
You can, but the texture changes. Try almond flour, coconut flour, or ground flax as a base. Start small because those absorb liquid fast.
3) How many protein balls should I eat as a snack?
For me, 2 usually feels just right. If it’s post workout or a bigger hunger moment, 3 is still reasonable depending on your ingredients.
4) Do I have to use vanilla extract if I already have vanilla protein powder?
No, but it helps. It adds that real vanilla smell and cookie dough feel. If your protein powder is strongly flavored, you can skip it.
5) Can I make them less sweet?
Yep. Use less honey or maple syrup, or choose an unsweetened nut butter. You may need a splash more milk to keep the mix sticky enough to roll.
A simple snack you will actually make again
If you want a sweet snack that feels easy and sensible, Vanilla Protein Balls really are the answer. They take minutes, they store well, and you can tweak them a hundred different ways without messing them up. If you want more snack inspiration, I’ve pulled ideas from The Best No Bake Energy Balls – Protein Snacks – Build Your Bite and also loved the flavor options in Easy No-Bake Protein Balls: Vanilla or Chocolate – Kitchen Frau. Now go grab a bowl and make a batch, then thank yourself tomorrow when snack time hits and you’re already ready.
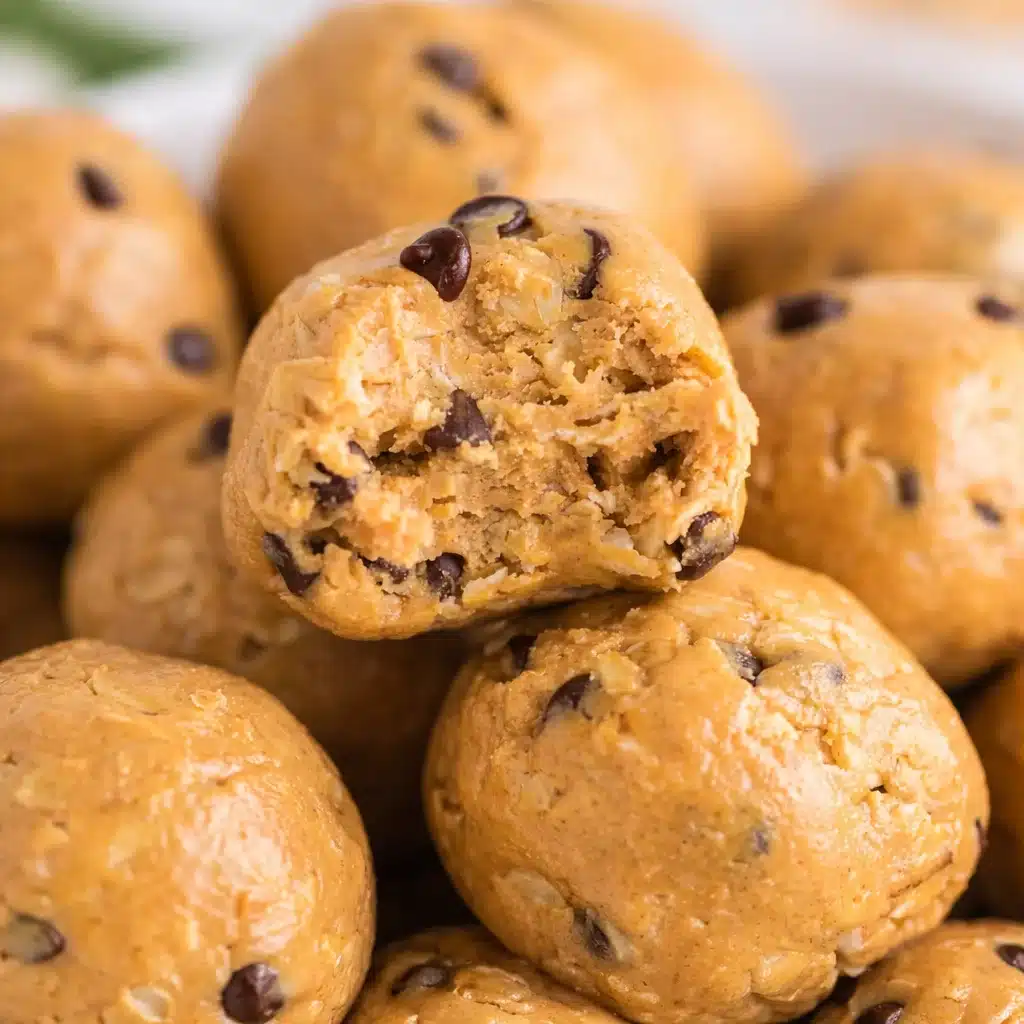
Vanilla Protein Balls
Ingredients
Method
- Add oats, vanilla protein powder, and salt to a bowl and stir to combine.
- Spoon in nut butter, honey or maple syrup, and vanilla extract.
- Mix with a sturdy spoon. As the mixture thickens, use clean hands to combine.
- If the mixture is dry or crumbly, add milk 1 teaspoon at a time until it holds together when squeezed.
- Roll the mixture into bite-size balls, about 1 tablespoon each.
- Chill the balls in the fridge for at least 20 to 30 minutes before serving.