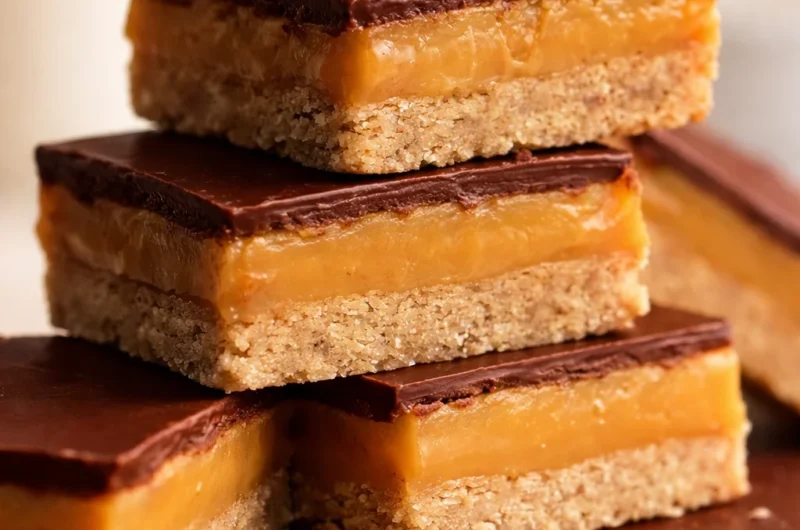




























Australian caramel slice is one of those treats I make when I need something that feels like a proper reward at the end of the day. You know the vibe, you want a sweet bite with your tea, but you do not want to spend hours fussing around. I have made versions that were too hard, too gooey, or just plain messy to cut. After a lot of tinkering (and a few sticky disasters), this is the one I come back to because it is simple and it behaves. If you have ever wanted that neat base, smooth caramel, and snappy chocolate top, you are in the right place.
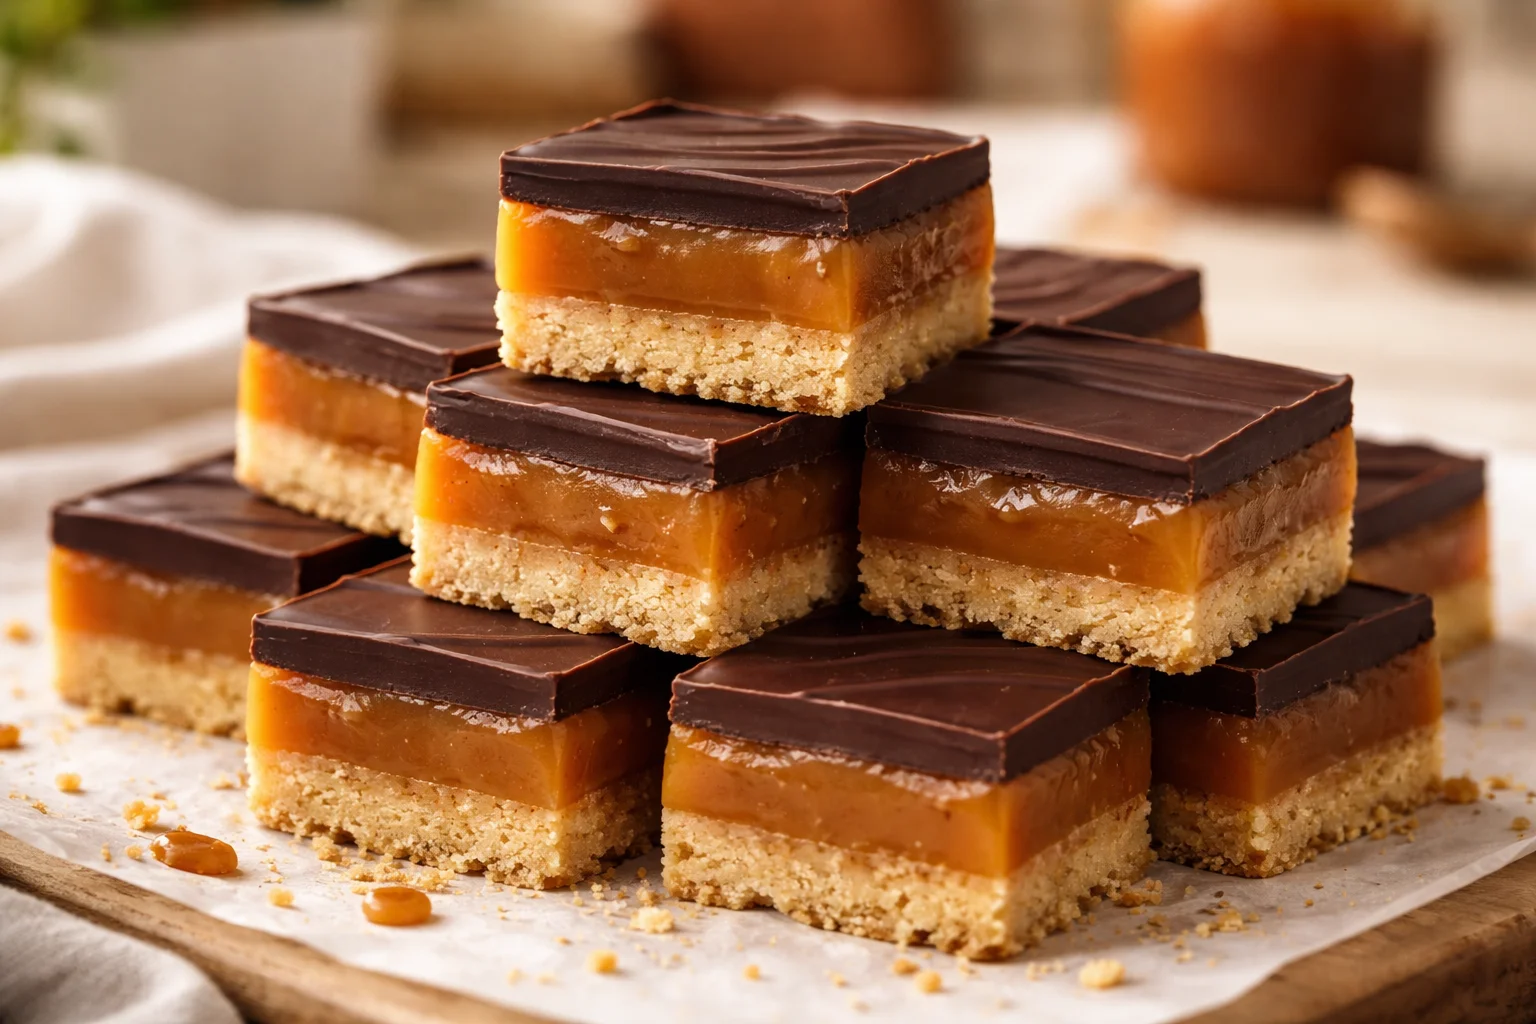
A Caramel Slice recipe that actually works
I am calling this a “works every time” style recipe because it is built around a few small choices that make a big difference. The base is pressed firmly so it does not crumble. The caramel is cooked long enough to set, but not so long that it turns into tooth breaking toffee. And the chocolate layer is kept thin and sensible, so you can slice it without the top shattering into random chunks.
When I bring this Australian caramel slice to a get together, it disappears fast. People always act surprised that it is homemade because it looks like something from a bakery window. Honestly, it is mostly patience and chilling time, not complicated skill.
One more thing. Use a lined pan. I know it feels like an annoying extra step, but it is the difference between lifting out a perfect slab and digging it out with a spoon while muttering to yourself.
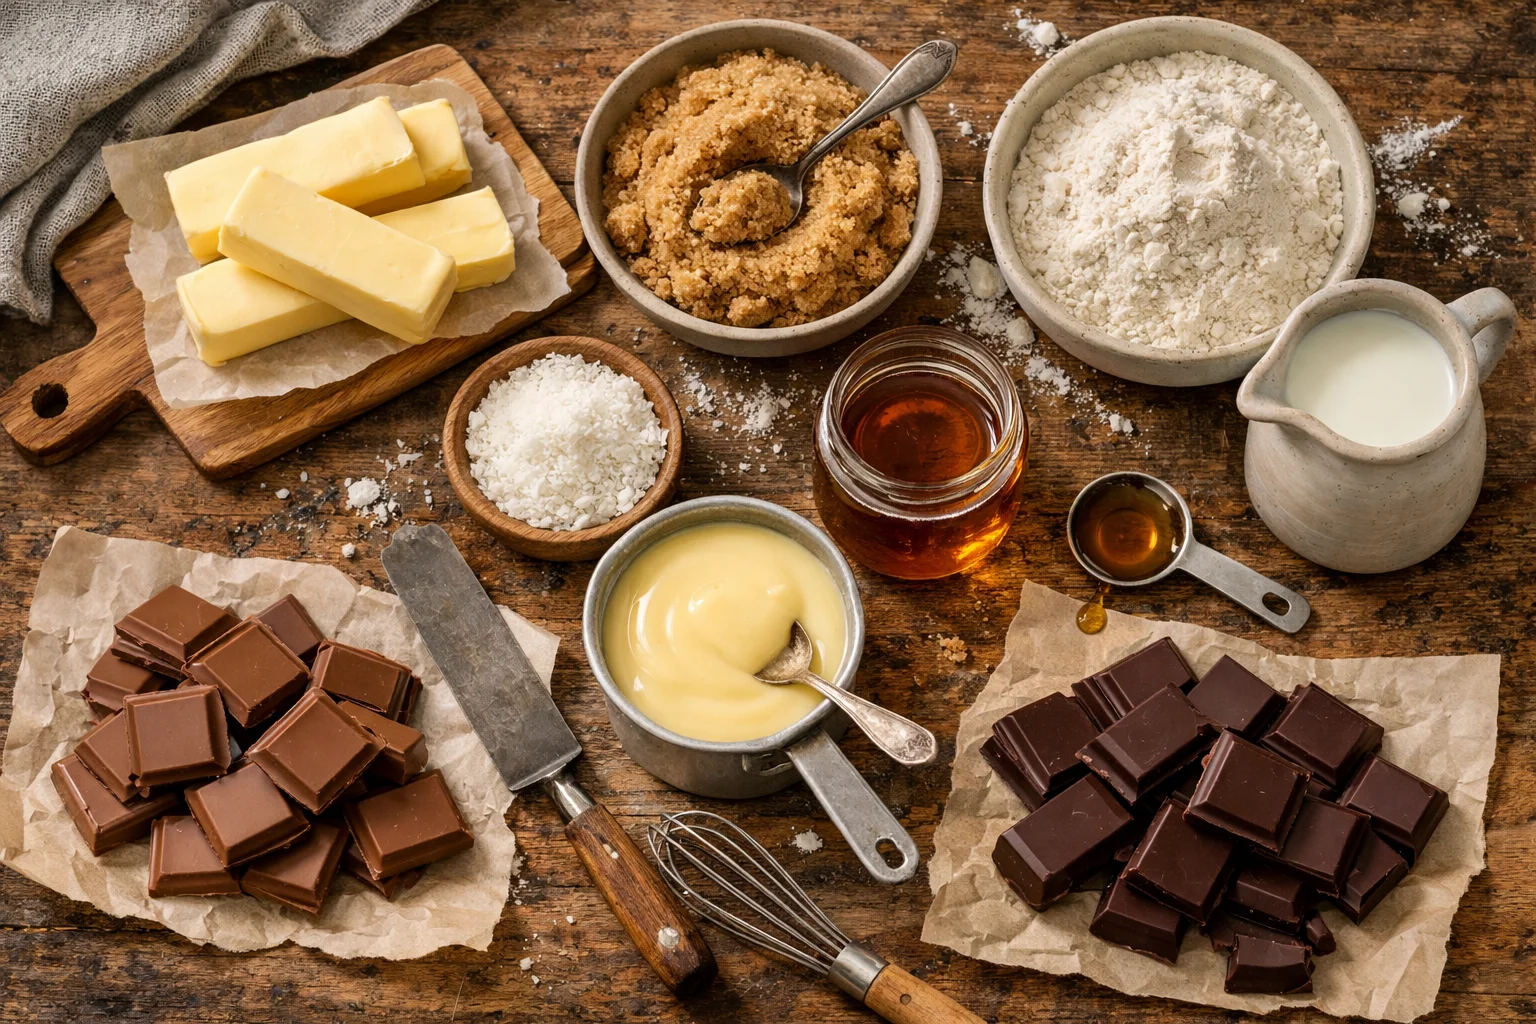
What goes in Caramel Slice
Let us keep this nice and practical. Here is what I use, and why. You probably have most of it already.
Ingredients you will need
- Butter: real butter tastes better and helps everything set nicely.
- Brown sugar: gives that warm caramel flavor in the base.
- Plain flour: keeps the base sturdy.
- Desiccated coconut (optional but classic): adds texture and a subtle nutty vibe.
- Sweetened condensed milk: the hero of the caramel layer. Do not swap for evaporated milk.
- Golden syrup (or light corn syrup): helps keep the caramel smooth.
- Milk chocolate or dark chocolate: pick what you like. I often do a mix.
- A tiny pinch of salt: makes the sweetness taste better, not saltier.
If you love bar style desserts, you might also like something simpler for weeknights. I keep a few easy options on repeat, like my no bake chocolate slice when I do not feel like turning the oven on.
Little shopping tip from my own mistakes: buy two cans of condensed milk if you are the type to “just taste the caramel” a few times. It happens. No judgement.
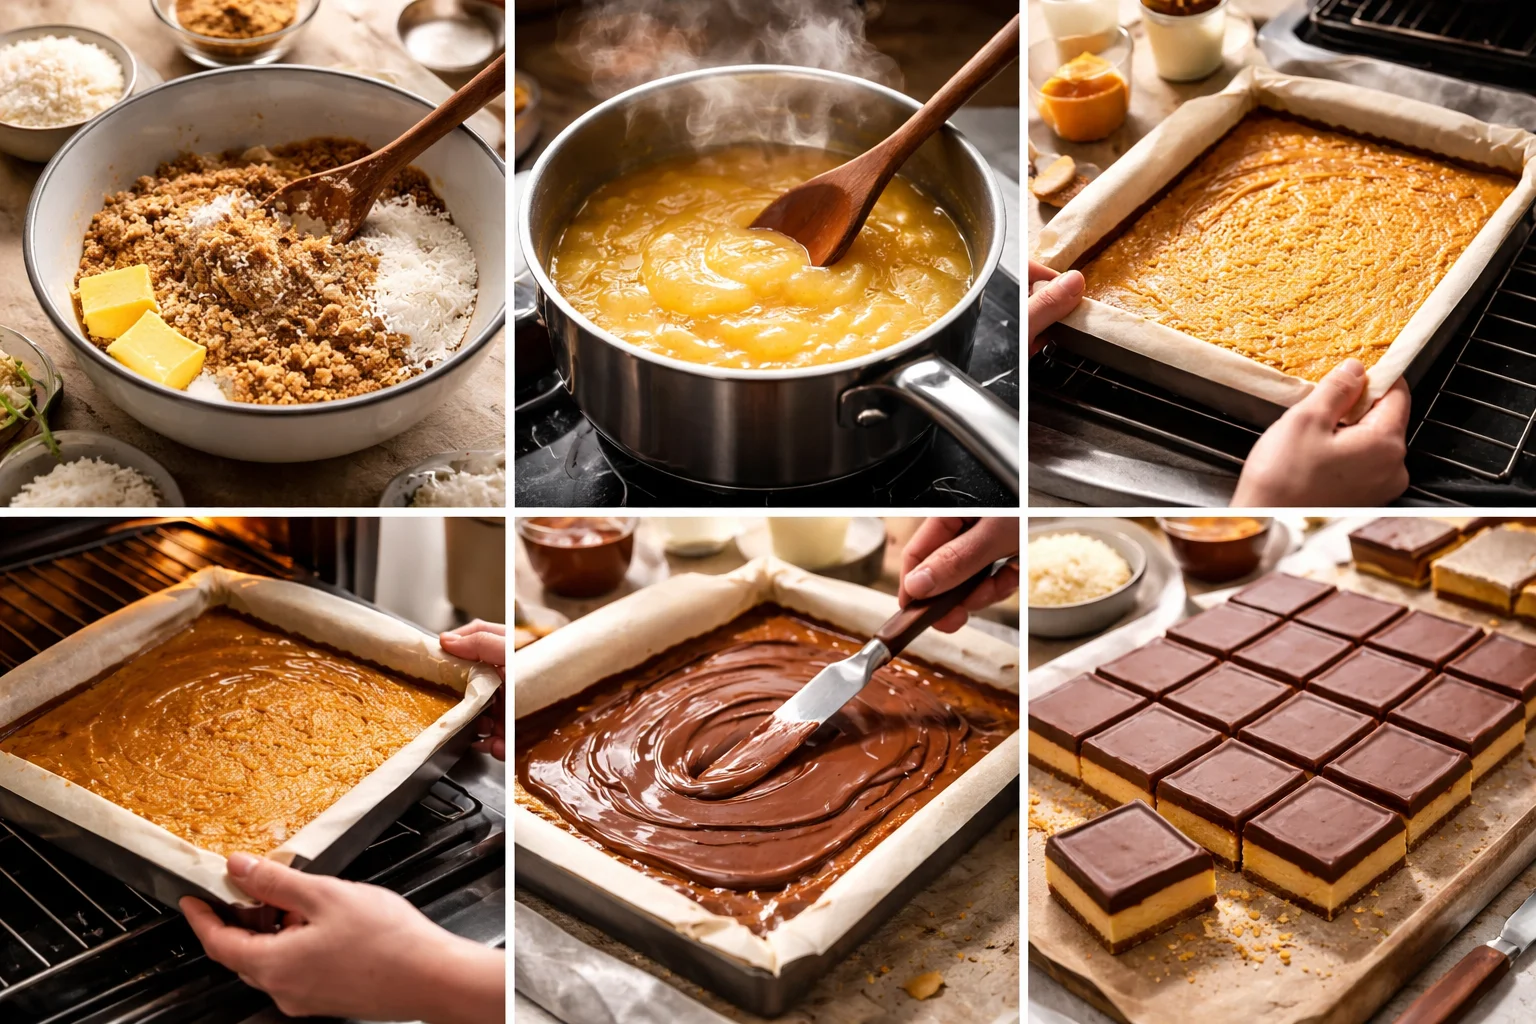
How to make Caramel Slice
This is the part where it all comes together. I am going to explain it the way I do it at home, no fancy terms, just what actually helps.
Step 1: Make the base. Heat your oven to 180 C (or 160 C fan). Melt butter, then stir in brown sugar. Add flour and coconut and mix until it looks like damp sand. Tip it into a lined square pan (about 20 cm) and press it down firmly. I use the bottom of a glass to really pack it in. Bake for around 12 to 15 minutes until lightly golden.
Step 2: Cook the caramel. In a saucepan on medium low heat, melt butter with golden syrup, then add the condensed milk. Keep stirring gently so it does not catch on the bottom. After 8 to 12 minutes, it should thicken and go a deeper golden color. You want it to look like soft fudge, not runny. Pour it over the base and spread it out quickly.
Step 3: Bake again briefly. Pop it back in the oven for about 10 minutes. This extra bake helps the caramel set properly so your Australian caramel slice cuts cleanly later.
Step 4: Cool, then add chocolate. Let the caramel layer cool to room temp, then chill for at least 30 minutes. Melt your chocolate gently (microwave in short bursts, stirring each time). Spread a thin layer over the top.
Step 5: Chill and slice like a sane person. Chill until the chocolate is just set. Here is my best trick: do not wait until it is rock hard. When it is firm but still has a tiny bit of give, slice with a warm knife. Wipe the blade between cuts for those neat bakery squares.
And yes, this is absolutely an Australian caramel slice that you can pack into lunchboxes, bring to parties, or hide in the fridge for “emergencies”.
“I made this for my kids school bake sale and people kept asking where I bought it. The layers set perfectly and it sliced so neatly. This one is a keeper.”
More slices and bars
Once you get hooked on making caramel slice, it is hard not to go down the rabbit hole of other tray bakes. I love having a couple of reliable slices in my back pocket for birthdays, picnics, or when someone drops by and I need a quick sweet option.
Here are a few ideas that sit in the same “easy, crowd pleasing” category:
Chocolate oat bars for something a bit heartier, lemon slice when you want a zingy change, and peanut butter bars when you want that salty sweet thing going on.
If you want another classic Aussie style treat, you can also check out my ANZAC biscuits recipe. It is the same kind of pantry friendly baking that does not feel intimidating.
And because it comes up a lot, here is a quick guide on storage that actually works: keep your Australian caramel slice in the fridge if your kitchen is warm. It stays tidy, the chocolate does not go soft, and the caramel holds its shape.
Watch how to make it {video_youtube}
If you are a visual learner, watching the caramel thicken is the most helpful part. The exact minute can vary a bit depending on your stove, your pan, and even the brand of condensed milk, so seeing that “soft fudge” stage makes it less stressful.
When you watch, keep an eye out for two cues:
Color (it should deepen slightly) and thickness (it should fall off the spoon in a slow ribbon, not pour like soup).
Once you have made it once, you will trust yourself. And then you will start offering to “bring dessert” a little too often, because this Australian caramel slice gets you compliments with minimal effort.
Common Questions
Why is my caramel layer too soft?
Usually it just needed a few more minutes on the stove, or it was not baked long enough after pouring. Next time, cook until it thickens properly and do the short second bake.
Why is the chocolate cracking when I cut it?
It is normally because the chocolate is too thick or too cold. Spread a thinner layer and slice when it is just set. A warm knife helps a lot.
Can I make caramel slice without coconut?
Yes. Just replace the coconut with a bit more flour, or leave it out for a slightly more shortbread style base. It still works.
How long does it last?
In the fridge, it is great for about 5 to 7 days in an airtight container. You can also freeze it for a couple of months, then thaw in the fridge.
Can I use dark chocolate instead of milk chocolate?
Totally. Dark chocolate makes the sweetness feel more balanced. Sometimes I do half dark, half milk.
A sweet little note before you bake
If you have been craving a reliable Australian caramel slice, I hope you give this one a go and make it your “I need a win” recipe. The base is simple, the caramel sets the way you want, and the chocolate top stays neat if you slice it at the right time. If you want to compare methods or get extra tips, I also like reading Caramel Slice – RecipeTin Eats and The Great Aussie Chocolate Caramel Slice – G’day Soufflé. Now go line that pan, put on the kettle, and enjoy the moment when you pull out that perfect tray and realize you just made bakery level slice at home.
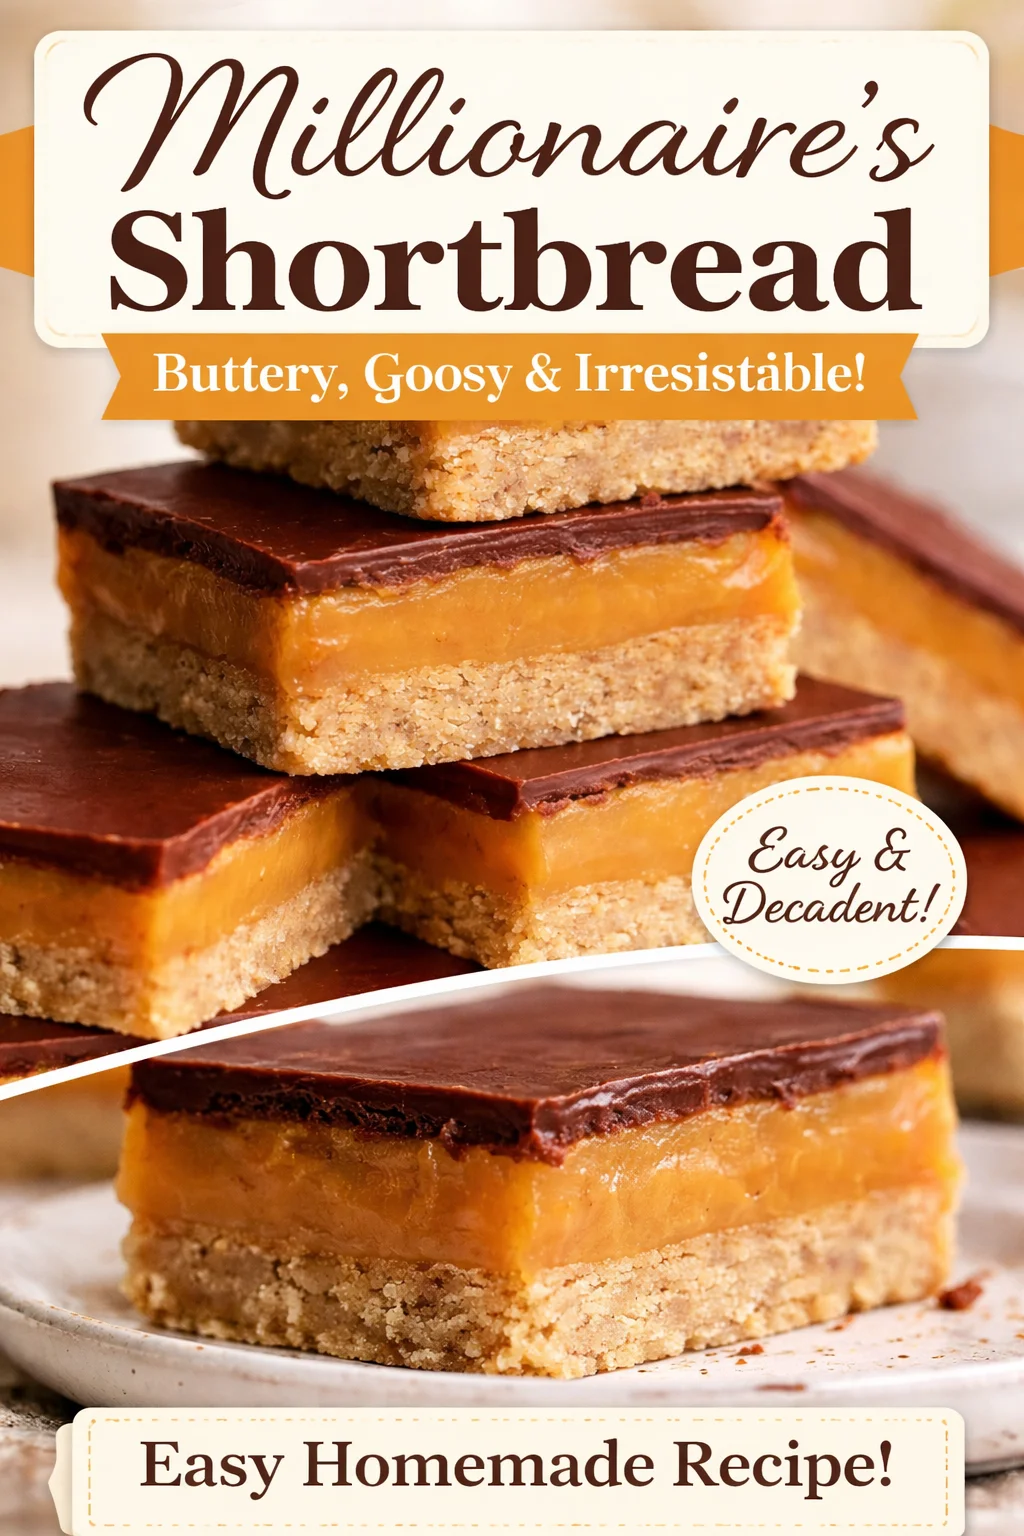
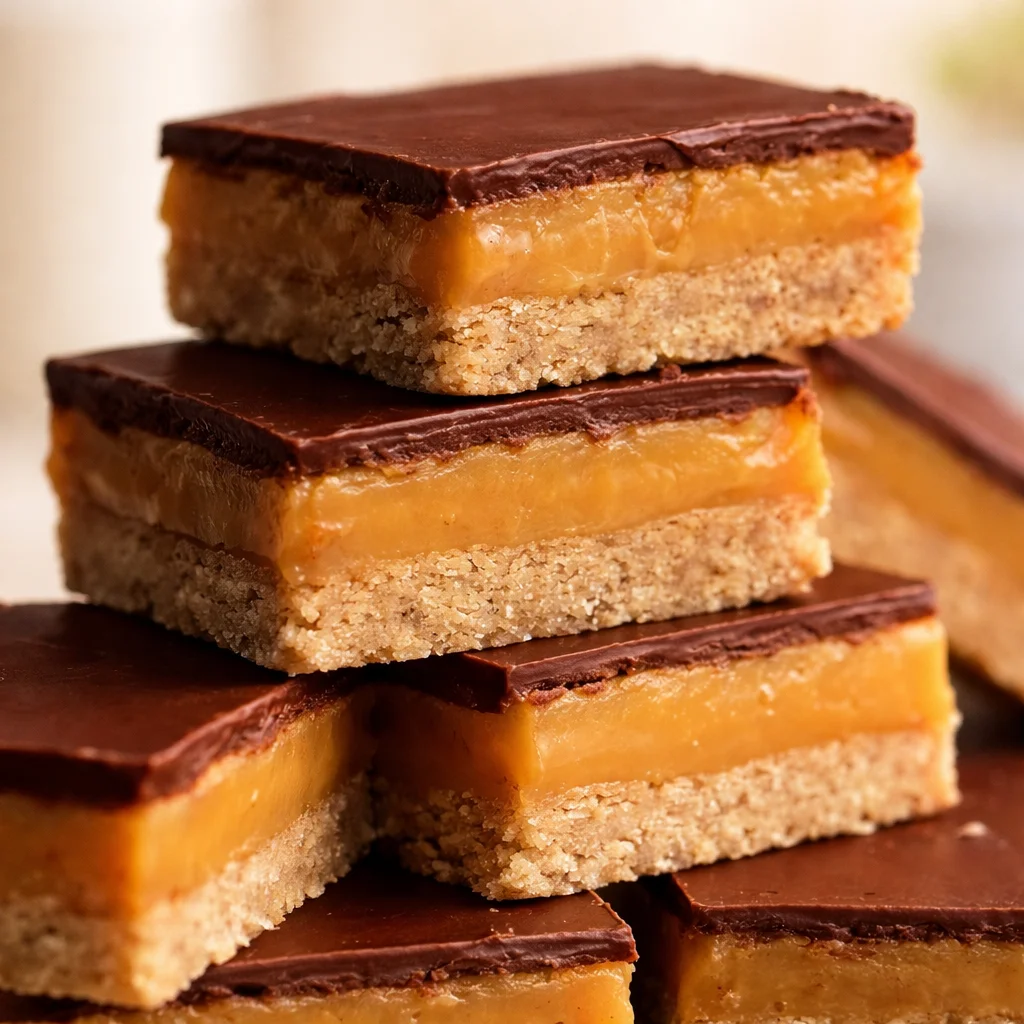
Australian Caramel Slice
Ingredients
Method
- Preheat your oven to 180°C (or 160°C fan).
- Melt the butter, then stir in the brown sugar.
- Add the flour and coconut and mix until it resembles damp sand.
- Tip the mixture into a lined square pan (approximately 20 cm) and press it down firmly using the bottom of a glass.
- Bake for 12 to 15 minutes until lightly golden.
- In a saucepan over medium-low heat, melt the butter with the golden syrup, then add the condensed milk.
- Stir gently to prevent sticking for about 8 to 12 minutes until it thickens and deepens in color.
- Pour the thick caramel over the baked base and spread it quickly.
- Return the pan to the oven and bake for an additional 10 minutes to help the caramel set.
- Allow the caramel layer to cool to room temperature, then chill for at least 30 minutes.
- Melt the chocolate gently in the microwave in short bursts, stirring each time.
- Spread a thin layer of melted chocolate over the top of the chilled caramel.
- Chill until the chocolate is just set, then use a warm knife to slice into squares.
- Wipe the blade between cuts for neat bakery-style squares.