neenish tarts recipe is one of those things I think about when I want a sweet treat that feels a little nostalgic but still totally doable at home. You know that moment when you want something more fun than cookies, but you do not want to spend all day baking? That is exactly where these little tarts shine. They are cute, they travel well, and they make people act like you worked way harder than you did. Also, the half and half icing is just plain satisfying to look at. 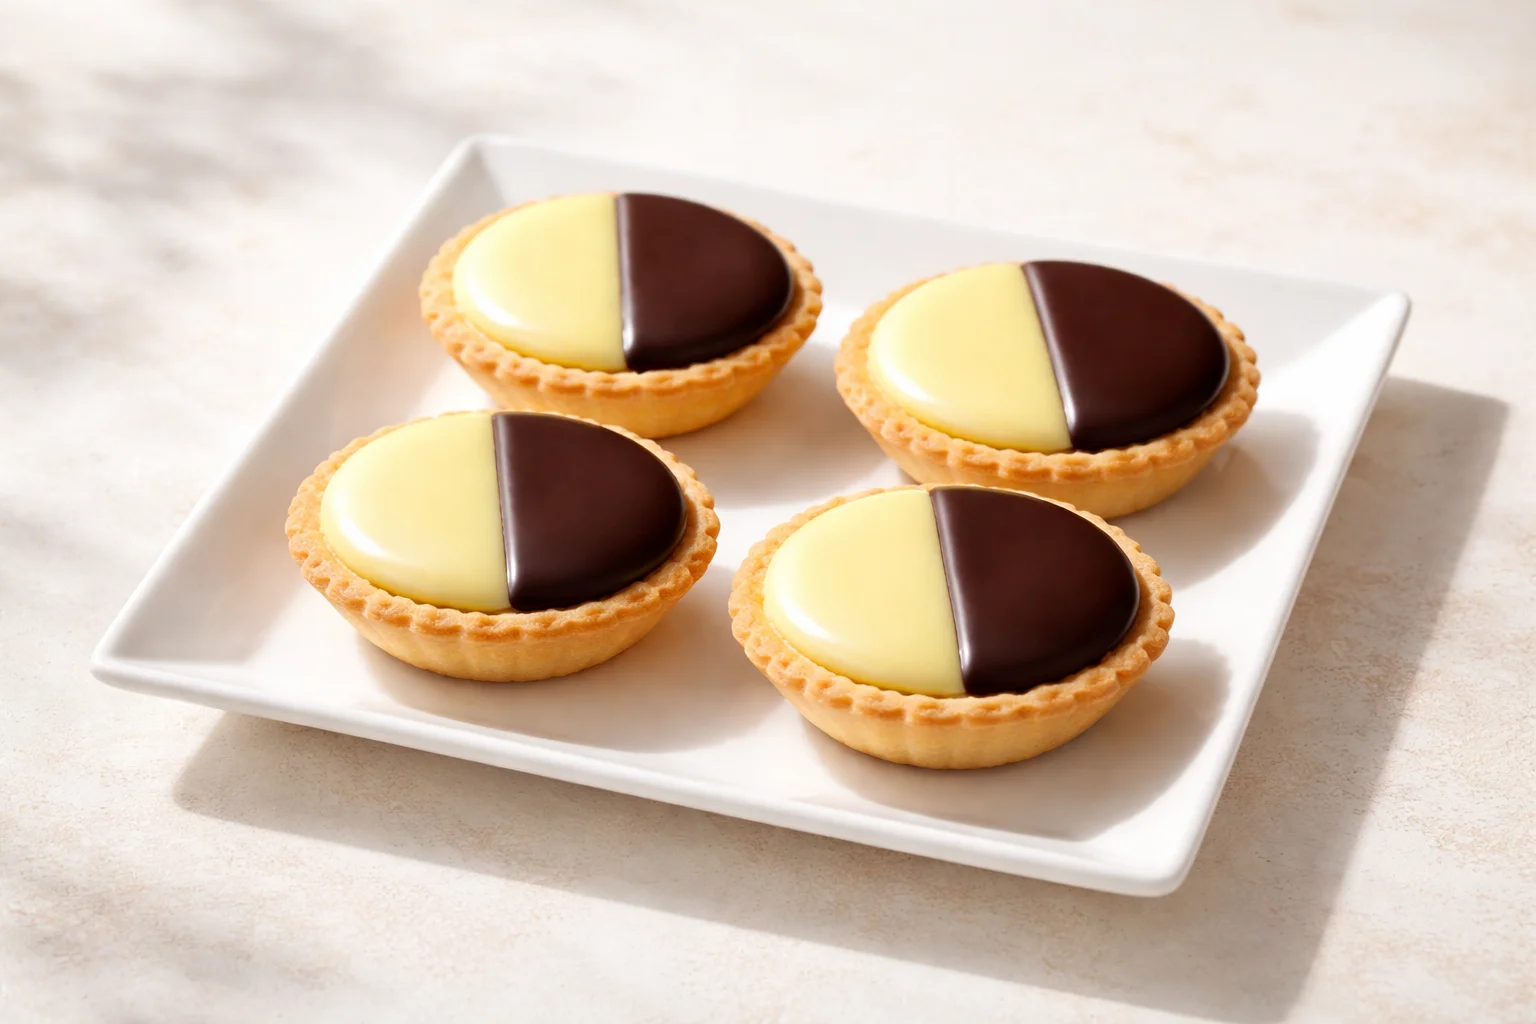
What is a Neenish Tart?
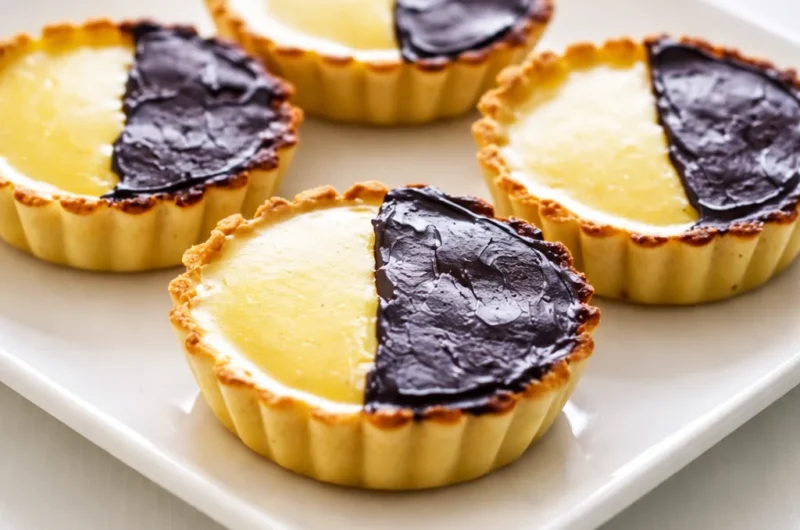
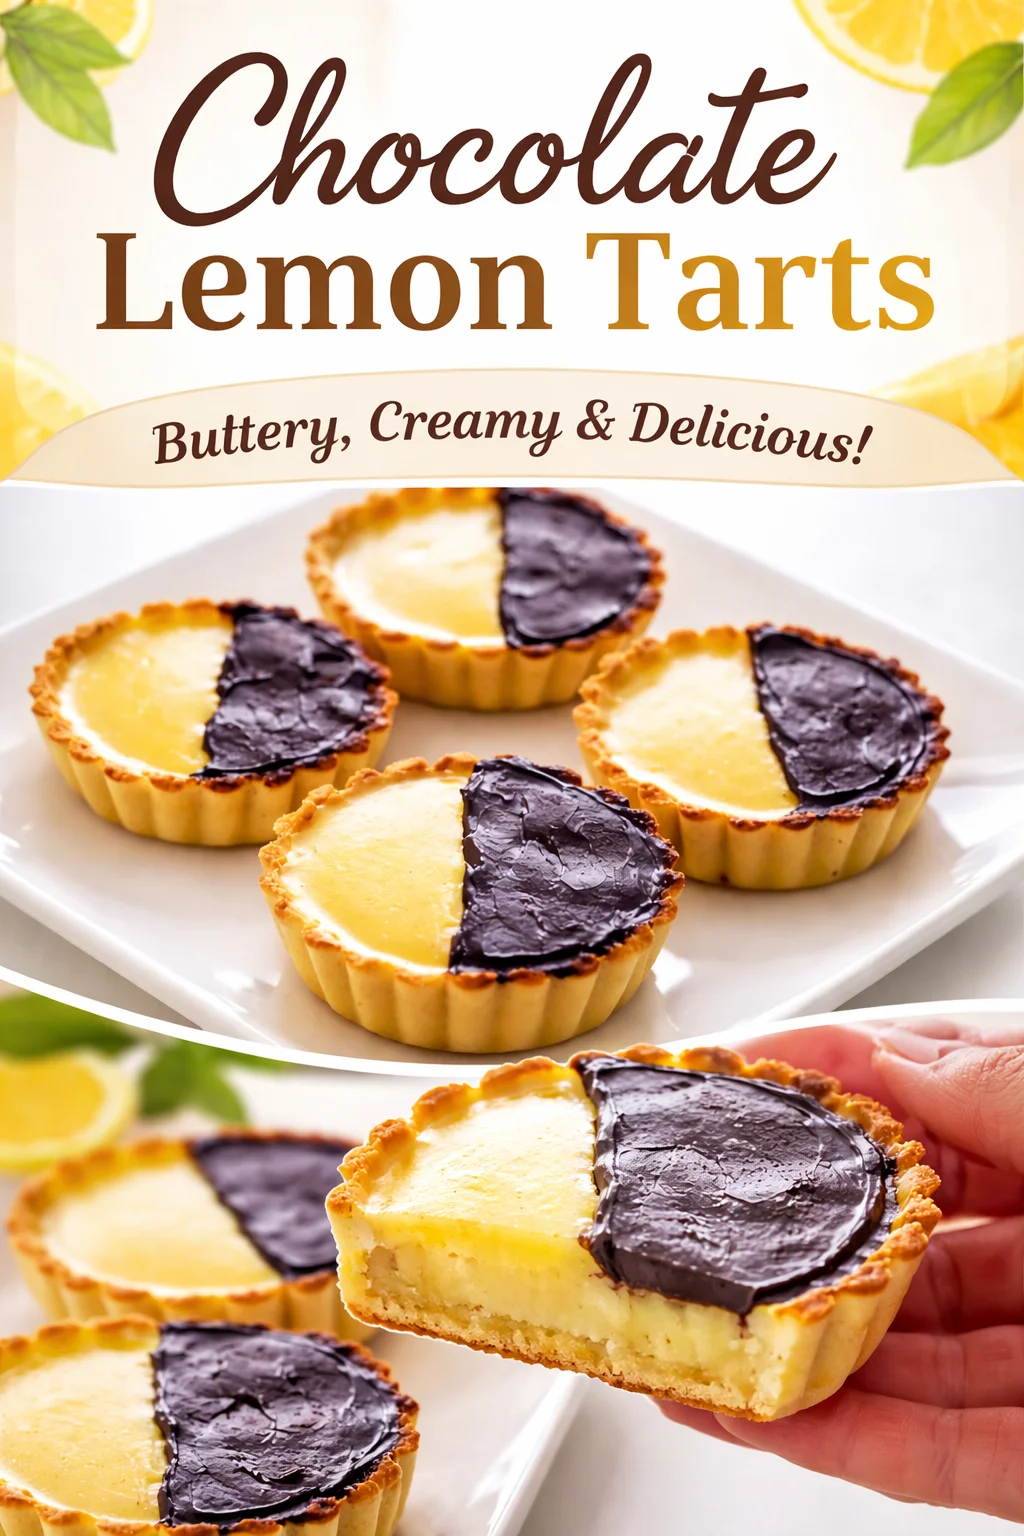
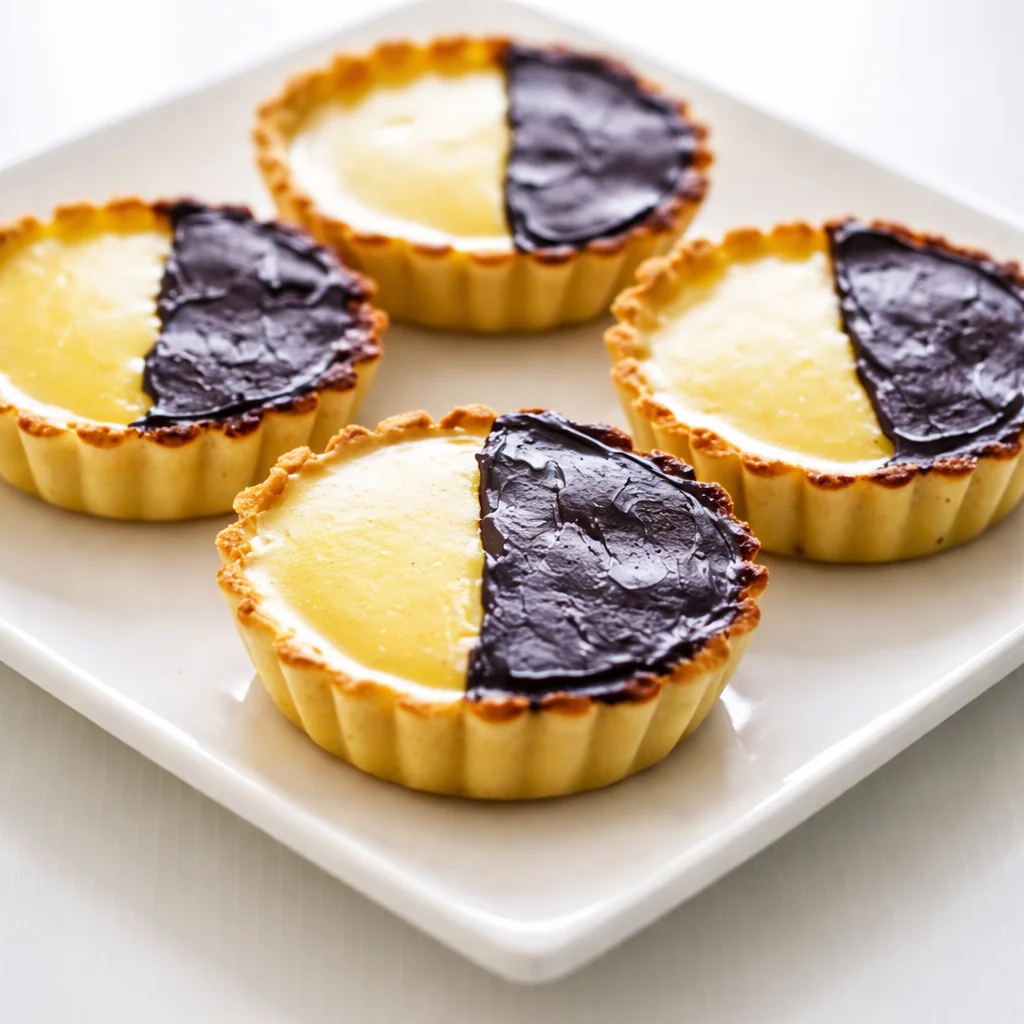
A Neenish tart is a small pastry tart with a sweet filling and a two tone icing top. The base is usually shortcrust pastry, the filling is often a simple lemony or vanilla custard style mix, and the top is half chocolate and half white or pink icing. The vibe is bakery window classic, but you can absolutely make it in your own kitchen without fancy gear.
I love how they hit multiple textures at once. You get that crumbly pastry, then the soft filling, then the smooth icing that sets just enough to give a tiny bite. If you have never made them, do not worry. This neenish tarts recipe is friendly, and I will walk you through the parts that usually trip people up.
What you will need (simple list, nothing scary)
- Tart tins or a standard muffin tin (a muffin tin works in a pinch)
- Rolling pin (or a clean bottle if that is your life today)
- Mixing bowls and a whisk
- Saucepan for the filling
- Cooling rack (optional but helpful)
My go to neenish tarts recipe (pastry, filling, icing)
Here is how I make it at home. It is not overly complicated, but it is detailed enough that you will not be guessing.
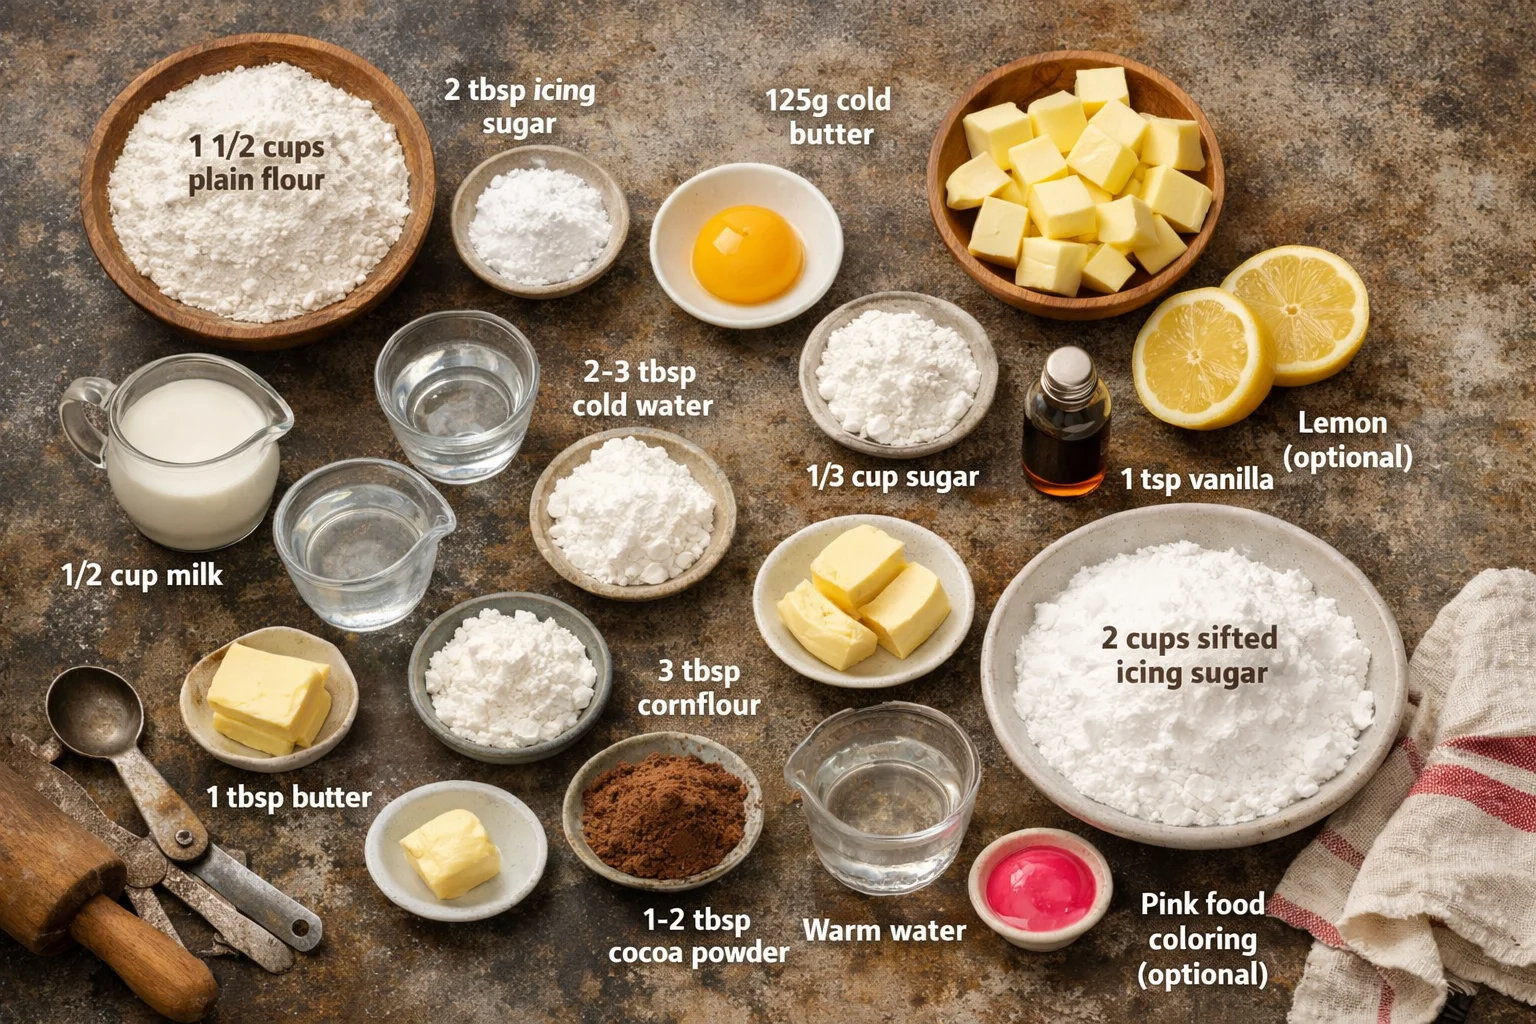
Ingredients for the pastry
- 1 and 1/2 cups plain flour
- 2 tablespoons icing sugar
- 125 g cold butter, cubed
- 1 egg yolk
- 2 to 3 tablespoons cold water
Ingredients for the filling
- 1/2 cup milk
- 1/2 cup water
- 1/3 cup sugar
- 3 tablespoons cornflour
- 1 tablespoon butter
- 1 teaspoon vanilla
- Optional: 1 to 2 teaspoons lemon juice for a light tang
Ingredients for the icing
- 2 cups icing sugar, sifted
- 2 to 3 tablespoons warm water (add slowly)
- 1 to 2 tablespoons cocoa powder for the chocolate half
- Optional: a tiny drop of pink food coloring for the classic look
Directions
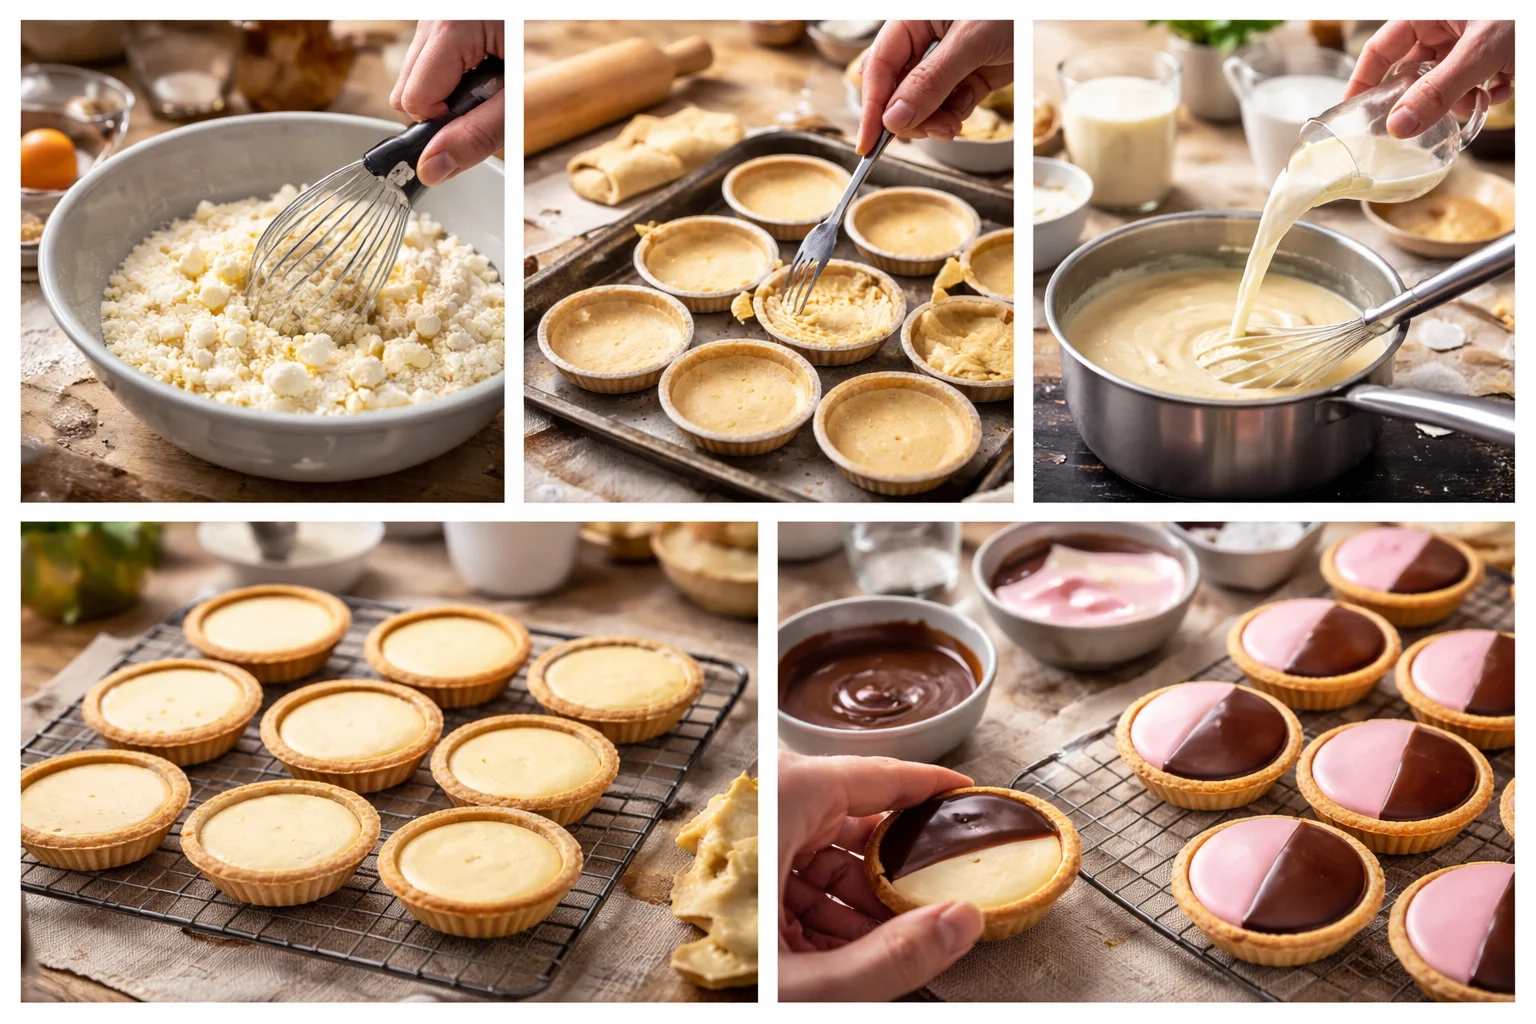
1) Make the pastry: In a bowl, rub the butter into the flour and icing sugar until it looks like fine crumbs. Add egg yolk and enough cold water to bring it together. Press into a ball, wrap, and chill for 20 to 30 minutes.
2) Bake the shells: Roll out the dough and line your tins. Prick the bottoms with a fork. Bake at 180 C for about 12 to 15 minutes, until lightly golden. Let them cool.
3) Cook the filling: In a saucepan, whisk sugar and cornflour, then whisk in milk and water. Heat on medium, whisking a lot, until thick. Take off the heat, stir in butter and vanilla, plus lemon if using. Cool until just warm.
4) Fill the tarts: Spoon filling into each cooled shell and smooth the top. Chill them so the filling firms up, even 30 minutes helps.
5) Ice the tops: Mix icing sugar with warm water until it is thick but spreadable. Split it into two bowls. Add cocoa to one bowl. Color the other if you want. Spread one half of each tart with chocolate icing and the other half with white or pink icing. Let set.
If you are in the mood for more retro Aussie style baking after this, I also keep other classic ideas on my site, like classic Australian desserts that use pantry basics and simple steps.
Origins of the Neenish Tart
The Neenish tart is one of those old school bakery treats with a little mystery baked in. Most people connect it to Australia and New Zealand, where it is a familiar sight in cafes and bakeries. The story you hear a lot is that it was named after a girl called Ruby Neenish, and that it became popular thanks to a recipe winning attention and spreading. Like many vintage sweets, the exact details can get fuzzy, but the tart itself stuck around for a reason.
Personally, I love that it feels like something your parents or grandparents would actually recognize. It is not trendy. It is just good. And honestly, that makes me want to bake it more. A neenish tarts recipe also makes a really fun weekend project because you can do it in stages without stress.
“I made these for my mum and she said they tasted like the bakery tarts from her childhood. The half chocolate top was her favorite part, and mine too.”
Also, if you are building a little home baking habit, I am big on learning a few base recipes and repeating them until they feel easy. That is why I like keeping handy guides like baking basics for beginners bookmarked, because once you know the basics, everything gets less intimidating.
Tips for Making Perfect Neenish Tarts
This is where the good stuff happens. The difference between okay tarts and wow tarts is usually just a couple of small choices.
Chill the pastry. If you skip chilling, the shells can shrink or puff up in weird ways. Cold dough behaves better.
Do not overbake the shells. You want light golden, not deep brown. If they get too dark, the tart can taste a little bitter once you add sweet filling and icing.
Whisk the filling constantly. Cornflour thickens fast once it gets hot. If you walk away for even a minute, you may get lumps. If you do get a few, push the filling through a sieve. No shame, it fixes it.
Let the filling cool before icing. Warm filling can melt the icing and make it slide. Chill helps everything sit neatly.
Go thick on the icing. A too runny icing drips down the sides and looks messy. Add water slowly and aim for a thick spreadable texture.
One more thing, do not stress about making the icing line perfectly straight down the center. It is homemade, it is charming, and it still tastes amazing. If you are making this neenish tarts recipe for guests, I promise nobody is judging your icing geometry.
Common Mistakes & How to Avoid Them
I have made every mistake on this list at least once, usually when I was trying to do three things at the same time.
Mistake 1: Soggy pastry
Fix: Make sure the shells are fully baked and cooled before adding filling. Also, do not overfill. Too much filling can seep and soften the base.
Mistake 2: Lumpy filling
Fix: Whisk from the start, especially as the milk heats up. If lumps happen, sieve it while warm and it becomes smooth again.
Mistake 3: Icing that runs everywhere
Fix: Use less water. Add it a teaspoon at a time. You want it thick enough to sit where you spread it.
Mistake 4: Chocolate half looks dull or grainy
Fix: Sift the cocoa powder first. Tiny cocoa lumps are stubborn and will mess up the smooth look.
Mistake 5: Shells shrinking
Fix: Chill the dough, and do not stretch it when pressing into tins. Press gently so it keeps its shape.
Once you have done this neenish tarts recipe once, you will start spotting the little moments that make it easier the next time. That is when it becomes a go to treat, not a once a year project.
Storage of Neenish Tarts
These tarts store better than you might expect, which is one reason I love making them ahead.
In the fridge: Store in an airtight container for 3 to 4 days. The icing stays nice, and the filling stays safe. The pastry will soften slightly over time, but they are still very good.
At room temperature: If your kitchen is cool, they can sit out for a few hours on the day you make them, especially if you are serving them at a party. But because of the milk based filling, I do not leave them out all day.
Freezing: I prefer freezing the baked empty shells only. Wrap them well and freeze up to 2 months. Then thaw, fill, and ice fresh. Freezing fully assembled tarts can mess with the icing texture.
One little storage tip I learned the hard way: if you stack them, place baking paper between layers so the icing does not stick and pull off. It sounds obvious, but I definitely learned that after ruining a batch.
Common Questions
Can I make Neenish tarts without tart tins?
Yes. A muffin tin works. The sides are higher, so just press the dough up the sides and keep the shells on the smaller side.
Do I have to use pink icing?
Nope. White looks clean and classic, and you can even do half chocolate and half vanilla with no coloring. The key is the two tone top.
Can I make the filling more lemony?
Totally. Add lemon juice, or even a little lemon zest. Just add a bit at a time and taste, because too much liquid can loosen the set.
Why did my icing crack?
Usually the icing was too thick or it dried too fast. Add a tiny splash more water next time and let them set at room temperature, not in a very dry windy spot.
How far ahead can I make this neenish tarts recipe?
I like making the shells a day ahead, then filling and icing the next day. Fully finished tarts are best within 2 days for the nicest pastry texture.
A sweet little baking win for your week
If you have been wanting a fun project that feels like a real treat, this neenish tarts recipe is honestly a great place to start. It is simple steps, big payoff, and that half chocolate top always gets a smile. If you want to compare styles or just see other home baker takes, I found these helpful: Traditional Neenish Tarts – Sugar Salt Magic and Neenish Tarts – Bec’s Table. Now go grab your icing sugar and give it a shot, because you deserve a little bakery moment at home.
Neenish Tarts
Ingredients
Method
- In a bowl, rub the butter into the flour and icing sugar until it looks like fine crumbs. Add egg yolk and enough cold water to bring it together. Press into a ball, wrap, and chill for 20 to 30 minutes.
- Roll out the dough and line your tart tins. Prick the bottoms with a fork.
- Bake at 180 C for about 12 to 15 minutes, until lightly golden. Let them cool.
- In a saucepan, whisk sugar and cornflour, then whisk in milk and water. Heat on medium, whisking constantly until thick.
- Take off the heat, stir in butter and vanilla, and add lemon juice if using. Let cool until just warm.
- Spoon filling into each cooled shell and smooth the top. Chill them for at least 30 minutes to firm up the filling.
- Mix icing sugar with warm water until thick but spreadable. Split into two bowls, adding cocoa to one and color to the other if desired.
- Spread one half of each tart with chocolate icing and the other half with white or pink icing. Let set.