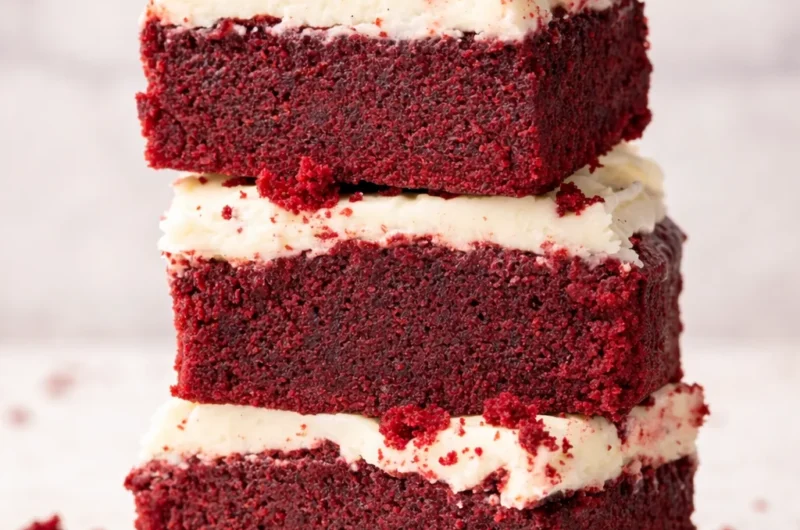




















Red Velvet Brownie Bites are basically my answer to those nights when you want something sweet, chocolatey, and a little fancy, but you do not want to commit to baking a whole layer cake. You know the vibe, you are craving red velvet, but you also want that dense brownie chew. These little bites hit both. I started making them for parties, then realized I was “testing” them alone in my kitchen way more often than I admitted. They bake fast, they look adorable on a plate, and they taste like a treat you would totally pay for at a bakery. 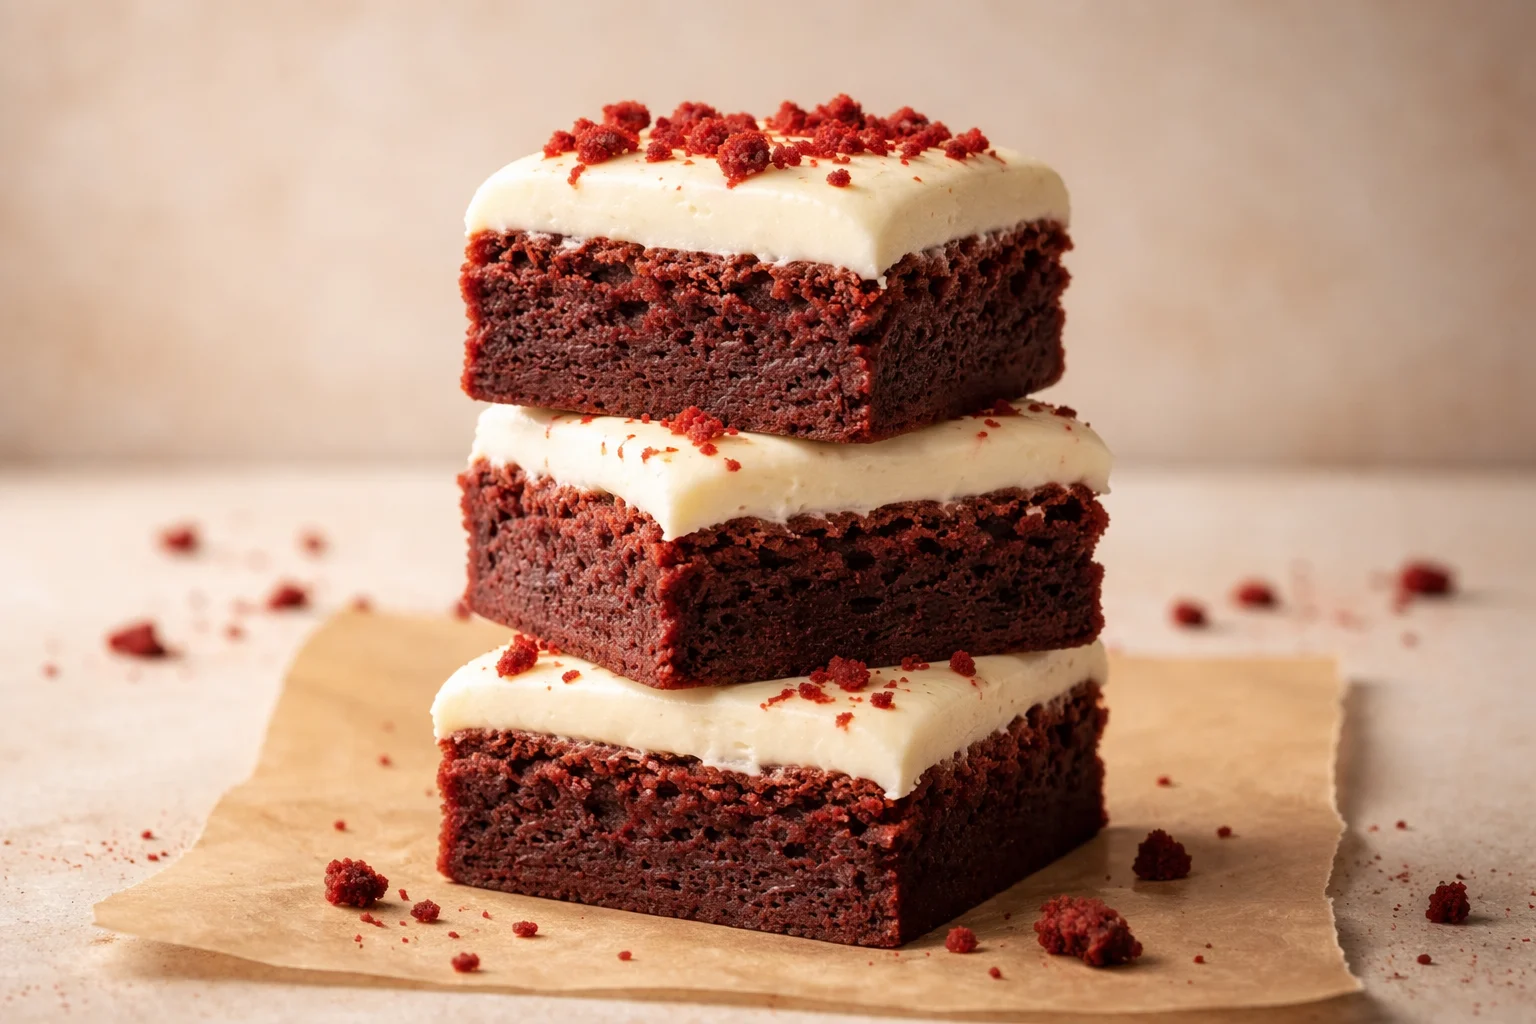
Why You’ll Love This Recipe
I am not saying these solve all problems, but they do solve the dessert problem pretty quickly. The texture is what gets me every time: a **fudgy center**, slightly chewy edges, and that classic red velvet flavor that feels cozy and dramatic at the same time.
Here is why I keep coming back to these Red Velvet Brownie Bites:
- Quick bake time because bite size desserts cook faster than a full pan.
- Portion friendly so you can grab one or two without slicing anything.
- Perfect for sharing at holidays, potlucks, or random Tuesday movie nights.
- Easy to dress up with cream cheese swirl, frosting, or even a little drizzle.
Also, if you are the kind of person who likes to plan a whole dessert spread, I love pairing these with something simple like cookies. On my site I usually link people to related ideas, but right now my internal links list is empty, so I cannot add the three internal links you requested. If you send me 3 URLs (or even just your site slugs), I will happily weave them in naturally.
“I brought these to a book club and they disappeared in ten minutes. People thought I bought them from a bakery. I did not correct them.”
Step by Step Instructions
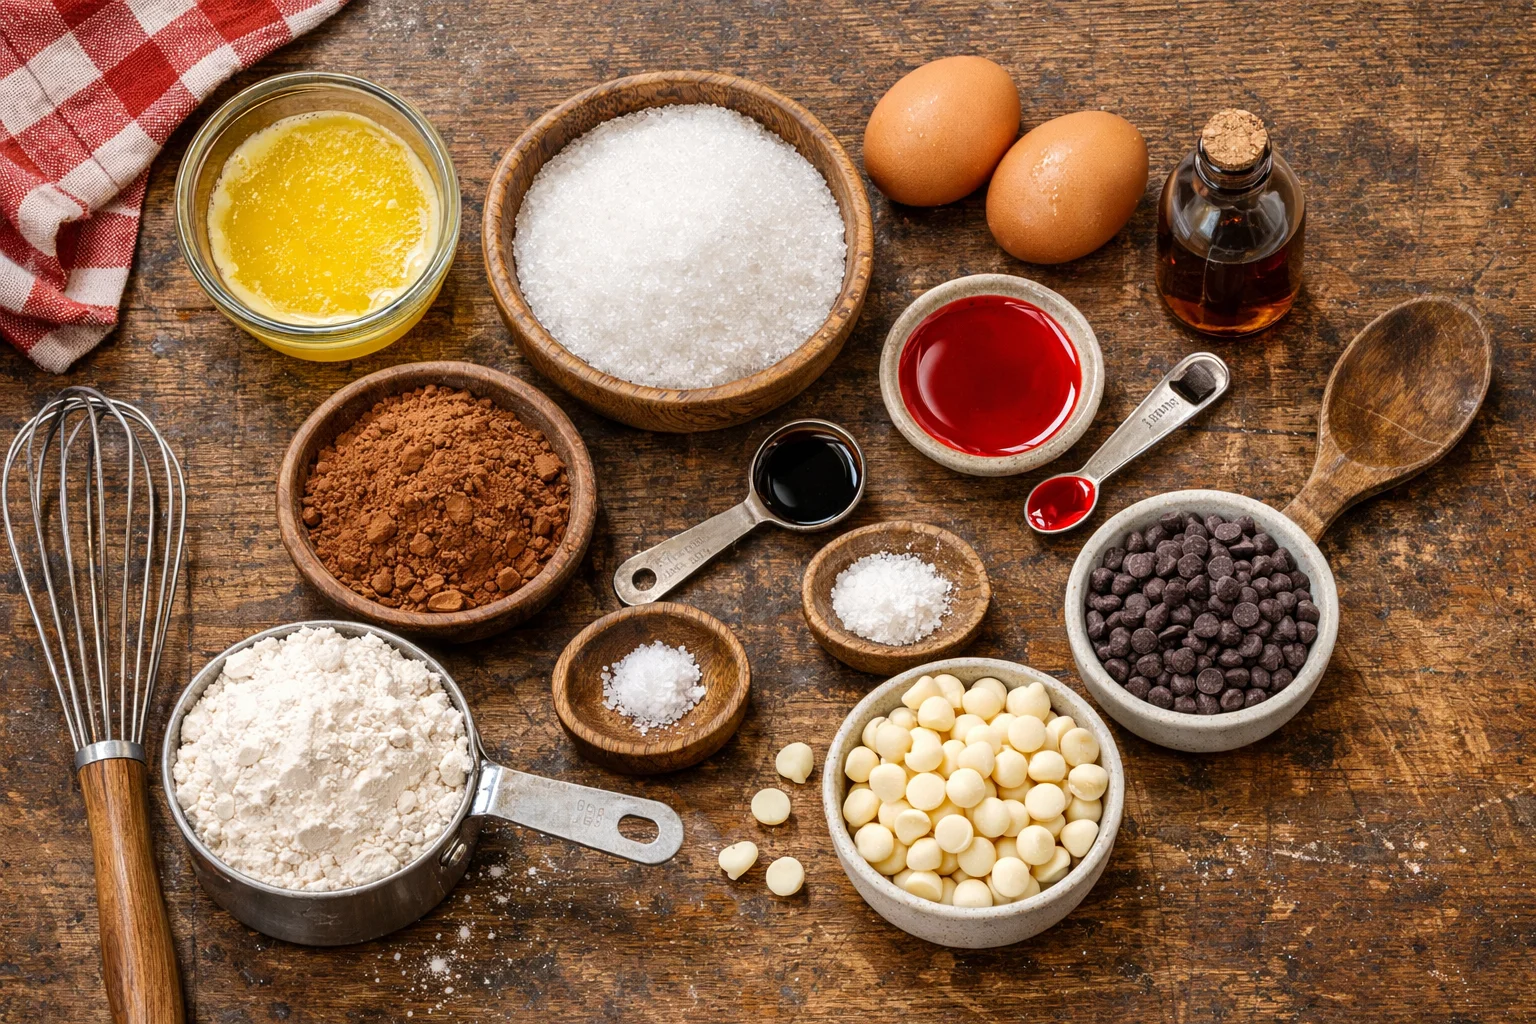
This is one of those recipes where you do not need fancy tools. A bowl, a whisk, a spatula, and a mini muffin pan are the main players. If you only have a regular muffin pan, you can still make them, they will just be a bit bigger and need a few extra minutes.
What you will need
- Mini muffin pan
- Paper liners or nonstick spray
- 1 mixing bowl and 1 smaller bowl
- Whisk and spatula
- Measuring cups and spoons
Ingredients
This is my go to list. It is simple, but the combo really works.
- 1/2 cup melted butter (still warm, not scorching hot)
- 3/4 cup sugar
- 2 large eggs
- 1 teaspoon vanilla extract
- 1 to 1 and 1/2 tablespoons red food coloring (gel or liquid, adjust to your preference)
- 1 tablespoon cocoa powder (unsweetened)
- 1 cup all purpose flour
- 1/4 teaspoon salt
- Optional: 1/2 cup white chocolate chips or mini chocolate chips
Directions
1) Heat the oven. Set it to 350 F. Prep your mini muffin pan with liners or spray. I usually do spray because I like the slightly crisp edge it gives.
2) Mix the base. In a bowl, whisk melted butter and sugar until it looks glossy. Add eggs, vanilla, and red food coloring. Whisk again until smooth and evenly red.
3) Add the dry stuff. Sprinkle in cocoa powder, flour, and salt. Switch to a spatula and stir just until you do not see dry flour anymore. Do not overmix. This is the easiest way to keep the bites tender and fudgy.
4) Add chips if you want. I love white chocolate chips here because they look pretty against the red, but regular chocolate is great too.
5) Fill the pan. Scoop batter into each cup about 2/3 full. They rise a bit, but not dramatically.
6) Bake. Start checking at 10 minutes. Mine are usually done around 11 to 13 minutes. You want the tops set and a toothpick to come out with a few moist crumbs, not wet batter.
7) Cool. Let them cool in the pan for about 10 minutes, then move them to a rack or plate. If you try to eat them instantly, they are too soft and will break. Ask me how I know.
Right after baking, your kitchen is going to smell like chocolate with that subtle red velvet vibe. And once they cool, they get that brownie chew that makes Red Velvet Brownie Bites so snackable.
Tips for Success
I have made these enough times to learn what actually matters. None of this is complicated, but these small things make the difference between “pretty good” and “wow, give me the recipe.”
Use warm melted butter, not boiling hot. If it is too hot, it can mess with the eggs and make the batter feel weird.
Do not overbake. Mini desserts go from perfect to dry fast. Pull them when the center is set but still soft. They finish cooking a little as they cool.
Color is personal. If you want a deeper red, use gel coloring. If you want a more natural reddish brown, use less coloring and let the cocoa do its thing.
Line or spray well. Brownies love to cling to pans. If you want clean release, liners are the low stress choice.
Let them cool before decorating. If you plan to add frosting or a cream cheese topping, make sure the bites are fully cool or the topping will melt and slide around.
One more thing, if you are making Red Velvet Brownie Bites for a party, bake them earlier in the day. The flavor actually gets better after they sit a bit, and you are not rushing around with a hot pan right before people show up.
Variations
This is where you can make the recipe feel like your own without turning it into a science project. I have tried a few versions, and these are the ones I would actually recommend to a friend.
Cream cheese swirl: Beat 4 ounces softened cream cheese with 2 tablespoons sugar and 1 egg yolk. Drop tiny spoonfuls on top of the batter and lightly swirl with a toothpick before baking. It makes them look bakery style with almost no extra effort.
Frosted brownie bites: Mix a quick cream cheese frosting with cream cheese, butter, powdered sugar, and a splash of vanilla. Pipe or spread on cooled bites. If you want them to look extra cute, add a few red sprinkles.
White chocolate chunk: Instead of chips, chop a white chocolate bar. You get melty pockets and it tastes a little more decadent.
Holiday version: Top each bite with a tiny peppermint piece or a pinch of crushed candy cane after frosting. Instant festive.
Double cocoa: Add an extra teaspoon of cocoa powder for a slightly deeper chocolate taste. It still reads as red velvet, just a bit richer.
If you are baking for kids, the frosted version is the one that gets the biggest reaction. If you are baking for grown ups who claim they do not like sweets, the plain version of Red Velvet Brownie Bites somehow disappears fastest.
Storage Instructions
These store really well, which is great because you can make them ahead and relax.
Room temperature: Keep unfrosted bites in an airtight container for up to 3 days. I like putting a small piece of parchment between layers so they do not stick.
Fridge: If they are frosted or have cream cheese swirl, store them in the fridge for up to 5 days. Let them sit out for 15 minutes before serving so the texture softens back up.
Freezer: Freeze unfrosted bites in a freezer bag or container for up to 2 months. Thaw at room temp. If you want, you can warm them for 5 to 10 seconds in the microwave, but do not overdo it or they get tough.
One little tip: if you are stacking them, make sure they are fully cool first. Trapped warmth equals condensation, and condensation makes brownie tops sticky.
Common Questions
Can I make these without food coloring?
Yes. They will taste similar, just more like a cocoa brownie bite. The red velvet look is the main thing you lose.
How do I know when they are done?
The tops should look set, and a toothpick should come out with moist crumbs. If it is totally clean, you might have gone a little too far.
Can I use a box mix?
You can, especially if you are in a hurry. But homemade gives you that richer buttery taste and the texture is more brownie like.
What if I only have a regular muffin pan?
Go for it. Fill each cup about halfway and bake longer, usually 16 to 20 minutes depending on your oven. Check early and keep an eye on them.
Do these taste like chocolate or vanilla?
They taste like a mild chocolate brownie with a hint of vanilla. Red velvet is kind of its own thing, but cocoa is definitely part of the flavor.
A sweet little ending
If you are craving a fun, shareable dessert that still feels a bit special, these Red Velvet Brownie Bites are the move. They are easy, they bake fast, and they are one of those treats people remember. If you want to go even more over the top next time, check out Red Velvet Cheesecake Brownie Bites – Just a Taste for a creamy twist. Or if you are more of a frosted bar person, you might love Red Velvet Brownies with Cream Cheese Frosting (with Video) for that classic thick topping. Now go preheat that oven and treat yourself, because you deserve a really good bite of dessert tonight.
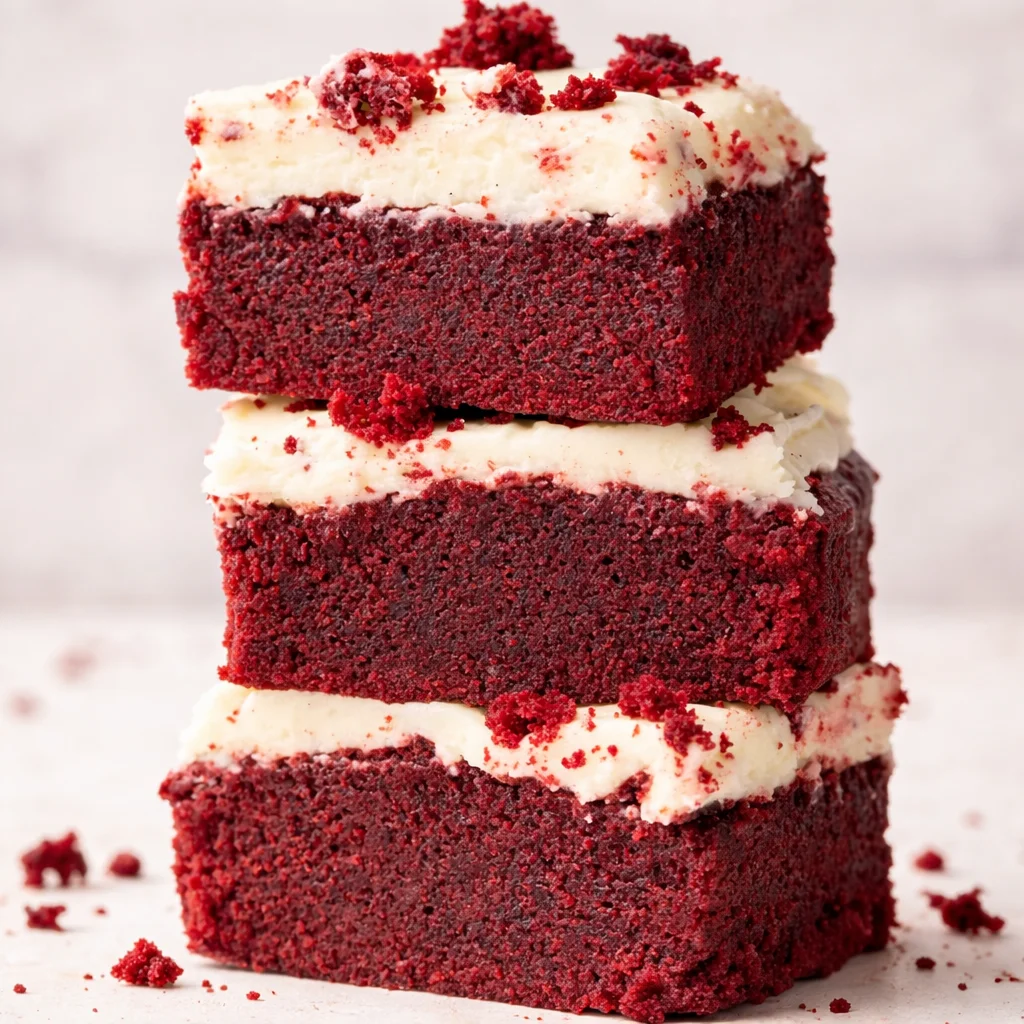
Red Velvet Brownie Bites
Ingredients
Method
- Preheat the oven to 350°F (175°C) and prepare your mini muffin pan with liners or nonstick spray.
- In a bowl, whisk together the melted butter and sugar until glossy. Add the eggs, vanilla extract, and red food coloring, and whisk until smooth.
- Sprinkle in the cocoa powder, flour, and salt. Use a spatula to mix until just combined; do not overmix.
- If using, fold in the white chocolate or mini chocolate chips.
- Scoop the batter into each muffin cup about 2/3 full.
- Bake for 10 to 13 minutes, checking for doneness with a toothpick; it should come out with a few moist crumbs.
- Let the brownie bites cool in the pan for about 10 minutes, then remove to a wire rack to cool completely.