









Australian finger buns recipe is one of those things that sounds easy until you actually want them soft, fluffy, and properly iced like the bakery ones. Maybe you have a school bake sale coming up, or you are just craving that sweet coconut topping with a cup of tea. I have been there, standing in the kitchen thinking, why do mine taste fine but look a bit sad? This is my go to version with a tasty twist that still feels classic, just a little more fun and extra snacky. If you have ever wanted finger buns that stay soft the next day, you are in the right place. 
Why You’re Going To Love This Recipe
These buns are soft and slightly sweet, with that familiar chewy bite you expect. The twist is a tiny bit of extra flavor in the dough and a more exciting icing, without making anything complicated or fussy.
Here is why I keep coming back to this one:
- Soft for longer because we use a slightly enriched dough with milk and butter.
- That classic pink icing but with a gentle vanilla vibe that tastes like a real bakery treat.
- Easy shaping because finger buns do not need perfect rounds.
- Kid and adult approved since they are sweet but not overly sugary.
- Great for sharing, and they look impressive even if you are not a confident baker.
I also love that you can make them on a weekend and feel like you have a little corner bakery at home. And if you are the type who likes to plan ahead, these freeze well once baked, before icing.
Quick personal note: the first time I nailed these, I actually did a little happy dance in my kitchen. Not proud, but also not sorry.
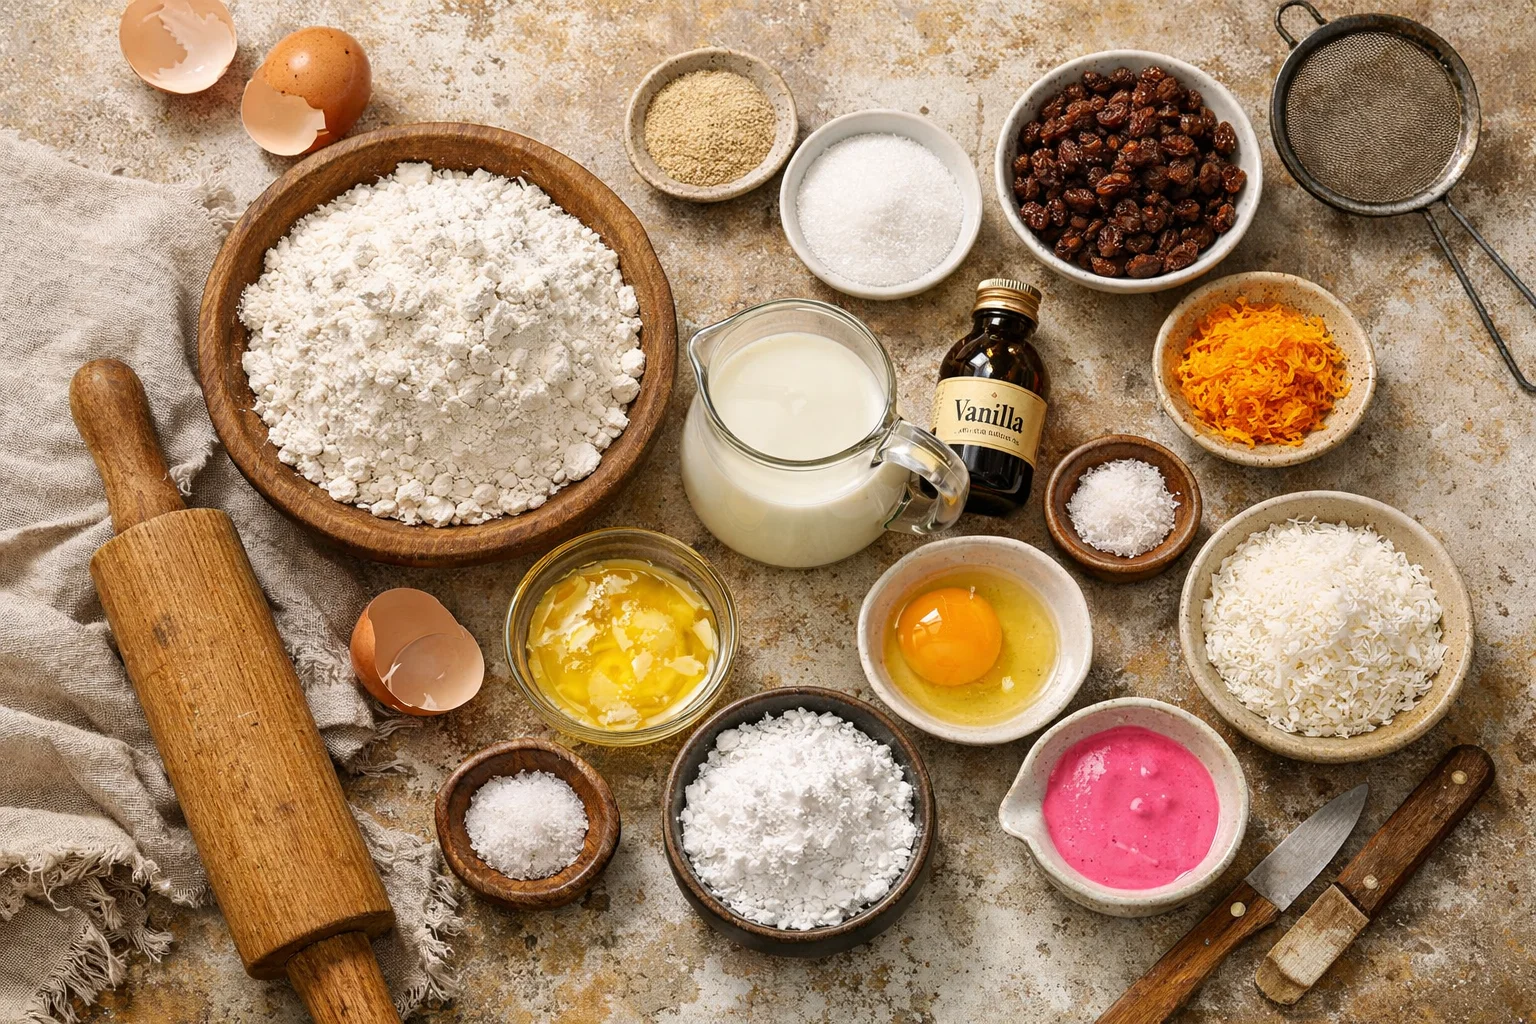
What You Need
You do not need anything fancy. If you have a mixing bowl, a tray, and some patience for the dough to rise, you are set. I am sharing the ingredients as I actually use them at home, plus a couple of swaps that still work.
Ingredients for the buns
- 3 and 1 per 2 cups plain flour, plus a little extra for kneading
- 2 and 1 per 4 teaspoons instant yeast
- 1 per 3 cup caster sugar
- 1 teaspoon fine salt
- 3 per 4 cup warm milk (not hot)
- 50g melted butter, cooled a bit
- 1 egg
- 1 teaspoon vanilla extract
- 3 per 4 cup sultanas (classic), or raisins
- Zest of 1 orange (this is my twist, optional but so good)
Ingredients for the icing and topping
- 2 cups icing sugar
- 1 to 2 tablespoons milk, plus more as needed
- 1 per 2 teaspoon vanilla extract
- A few drops pink food coloring
- Desiccated coconut to sprinkle
Little swap notes: if you do not have orange zest, skip it. If you hate sultanas, you can use choc chips, but they melt a bit and it becomes a different vibe. Still delicious, just less classic.
I would also strongly suggest weighing your flour if you can. Too much flour is the number one reason buns turn dense. If you do not have scales, just spoon flour into the measuring cup and level it off.
Expert Tips
I am not a fancy pastry chef, but I have made enough batches of these to know what actually matters. These tips are the stuff that makes the difference between okay buns and the ones people talk about the next day.
Tip 1: Watch the dough, not the clock. Rising time changes depending on your kitchen. If it is chilly, it will take longer. The dough should look puffier and feel airy when you press it gently.
Tip 2: Warm milk, not hot milk. If the milk is too hot, it can mess with the yeast. I aim for warm like bath water. Boring but important.
Tip 3: Add the sultanas after the dough starts coming together. If you toss them in too early, they can stop the dough mixing properly. I knead for a few minutes, then add them so they spread out evenly.
Tip 4: Do not over flour your bench. A little flour is fine, but too much will get worked into the dough and dry it out. Slightly sticky dough is a good sign for soft buns.
Tip 5: For that real bakery feel, bake them close together. I place the logs with small gaps so they rise into each other a bit. That helps keep the sides softer.
“I made these for my kids and they said they taste like the ones from the school canteen, but better. The orange zest made the whole kitchen smell amazing.”
If you are into other cozy baking projects, you might like browsing my simple baking ideas too. I keep them pretty beginner friendly and snack focused.
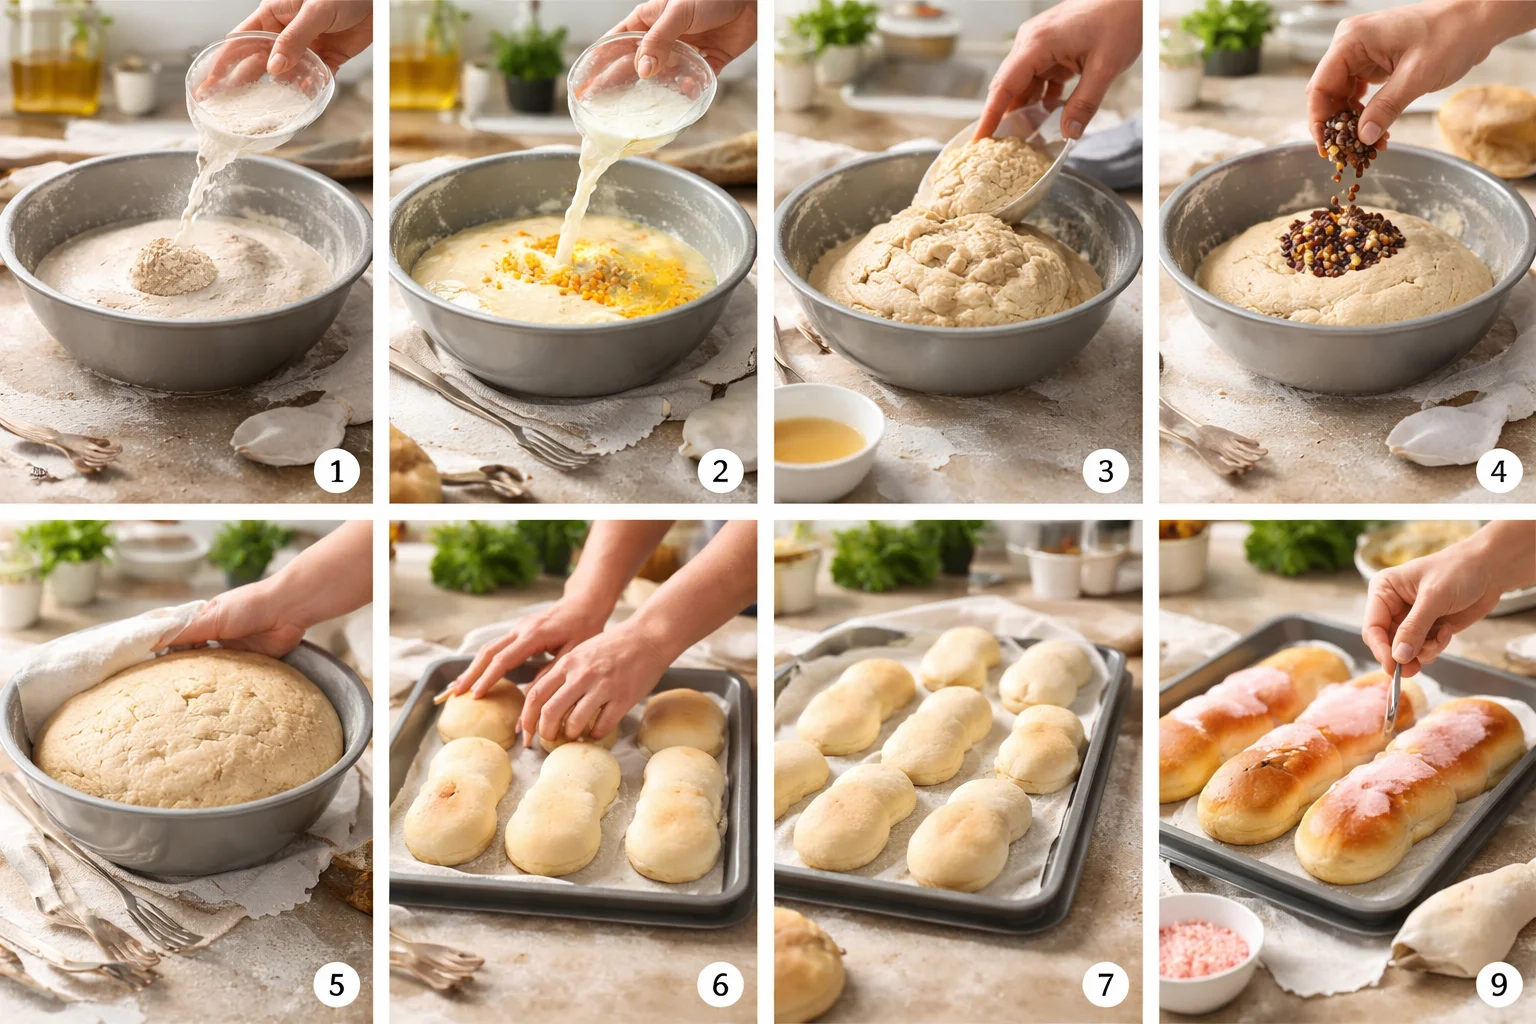
Step By Step Instructions
This is the part where it all comes together. Take your time, and remember that dough is forgiving. It wants to become bread, you are just guiding it.
- Mix the dry stuff. In a big bowl, stir together the flour, yeast, sugar, and salt.
- Add the wet stuff. Pour in the warm milk, melted butter, egg, vanilla, and orange zest if using. Mix until it looks like a shaggy dough.
- Knead it. Tip it onto a lightly floured bench. Knead for about 8 to 10 minutes, until it feels smoother and stretchy. If it is sticky, add a tiny bit more flour, but do not go wild.
- Add the sultanas. Flatten the dough a little, scatter over the sultanas, and knead again until they are mixed in.
- First rise. Put the dough back in the bowl, cover it, and let it rise until roughly doubled. Usually 45 to 90 minutes depending on warmth.
- Shape the buns. Punch the dough down gently, then divide into 10 to 12 pieces. Roll each piece into a log shape, like a chubby finger. Place on a lined baking tray.
- Second rise. Cover the tray and let them puff up again for about 30 to 45 minutes.
- Bake. Bake at 180 C (350 F) for about 18 to 22 minutes, until golden on top. They should sound slightly hollow if you tap one.
- Cool before icing. This is hard, I know. But if you ice them hot, the icing melts and goes transparent.
- Ice and coconut. Mix icing sugar, milk, vanilla, and food coloring until thick but spreadable. Smear over each bun and sprinkle with coconut.
That is it. You just made an Australian finger buns recipe at home, and your kitchen now smells like a sweet little bakery.
If you need a handy guide for timing and batch baking, I also keep notes in my meal prep and freezer tips section, because yes, you can absolutely stash these for later.
Top Tips for Iced Finger Buns
Let us talk icing, because this is where finger buns go from nice to wow. A few small things make the difference.
Make the icing thicker than you think. If it is too runny, it slides right off. Start with less milk and add drops slowly.
Ice the buns when they are fully cool. If you are impatient, pop them in the fridge for 15 minutes.
Use a spoon or butter knife and push it to the edges. That classic look comes from icing that reaches the sides.
Do coconut right after icing. It sticks best while the icing is still wet.
Want a twist? Add a tiny pinch of salt to the icing. It sounds weird, but it makes the sweetness taste cleaner and less flat.
And if you are serving these for a party, I like slicing them lengthways and adding a little smear of butter inside. Not traditional, but honestly, it is dangerously good.
Common Questions
Can I make these finger buns without sultanas?
Yes. You can leave them out, or swap for raisins. If you want a different twist, mini choc chips work, but the buns will be less classic.
How do I store iced finger buns?
Once iced, keep them in an airtight container at room temperature for a day. After that, the icing can get a bit sticky, so fridge is fine, just bring to room temp before eating.
Can I freeze them?
Yes, freeze the buns uniced. Once cooled, wrap them well and freeze up to 2 months. Thaw, then ice fresh.
Why did my buns turn out dense?
Usually it is too much flour or not enough rising time. Next time, keep the dough slightly soft and give it time to puff up properly.
Can I use bread flour instead of plain flour?
You can, but the texture may be a bit chewier. Plain flour keeps them softer, which is what I like for an Australian finger buns recipe.
A Sweet Little Wrap Up
If you have been craving that nostalgic pink topped treat, this Australian finger buns recipe is such a satisfying one to try at home. Keep the dough soft, give it time to rise, and do not rush the icing step. If you want to compare styles or pick up extra inspiration, I genuinely like reading Iced Finger Buns – Eat, Little Bird and Bakery-Style Finger Buns | Australian Favourite – Bake Play Smile because you can see how different kitchens do the same classic. Now go put the kettle on, grab a bun, and tell me you do not feel just a little bit happier. 

Australian Finger Buns
Ingredients
Method
- In a big bowl, stir together the flour, yeast, sugar, and salt.
- Pour in the warm milk, melted butter, egg, vanilla, and orange zest if using. Mix until it looks like a shaggy dough.
- Tip it onto a lightly floured bench. Knead for about 8 to 10 minutes, until it feels smoother and stretchy.
- Flatten the dough a little, scatter over the sultanas, and knead again until they are mixed in.
- Put the dough back in the bowl, cover it, and let it rise until roughly doubled, usually 45 to 90 minutes.
- Punch the dough down gently, then divide into 10 to 12 pieces. Roll each piece into a log shape.
- Cover the tray and let them puff up again for about 30 to 45 minutes.
- Bake at 180 C (350 F) for about 18 to 22 minutes, until golden on top.
- Let them cool before icing to prevent the icing from melting.
- Mix icing sugar, milk, vanilla, and food coloring until thick but spreadable.
- Smear icing over each bun and sprinkle with coconut.